We are ready to help
RAM Overclocking: How to Get Free FPS Gains
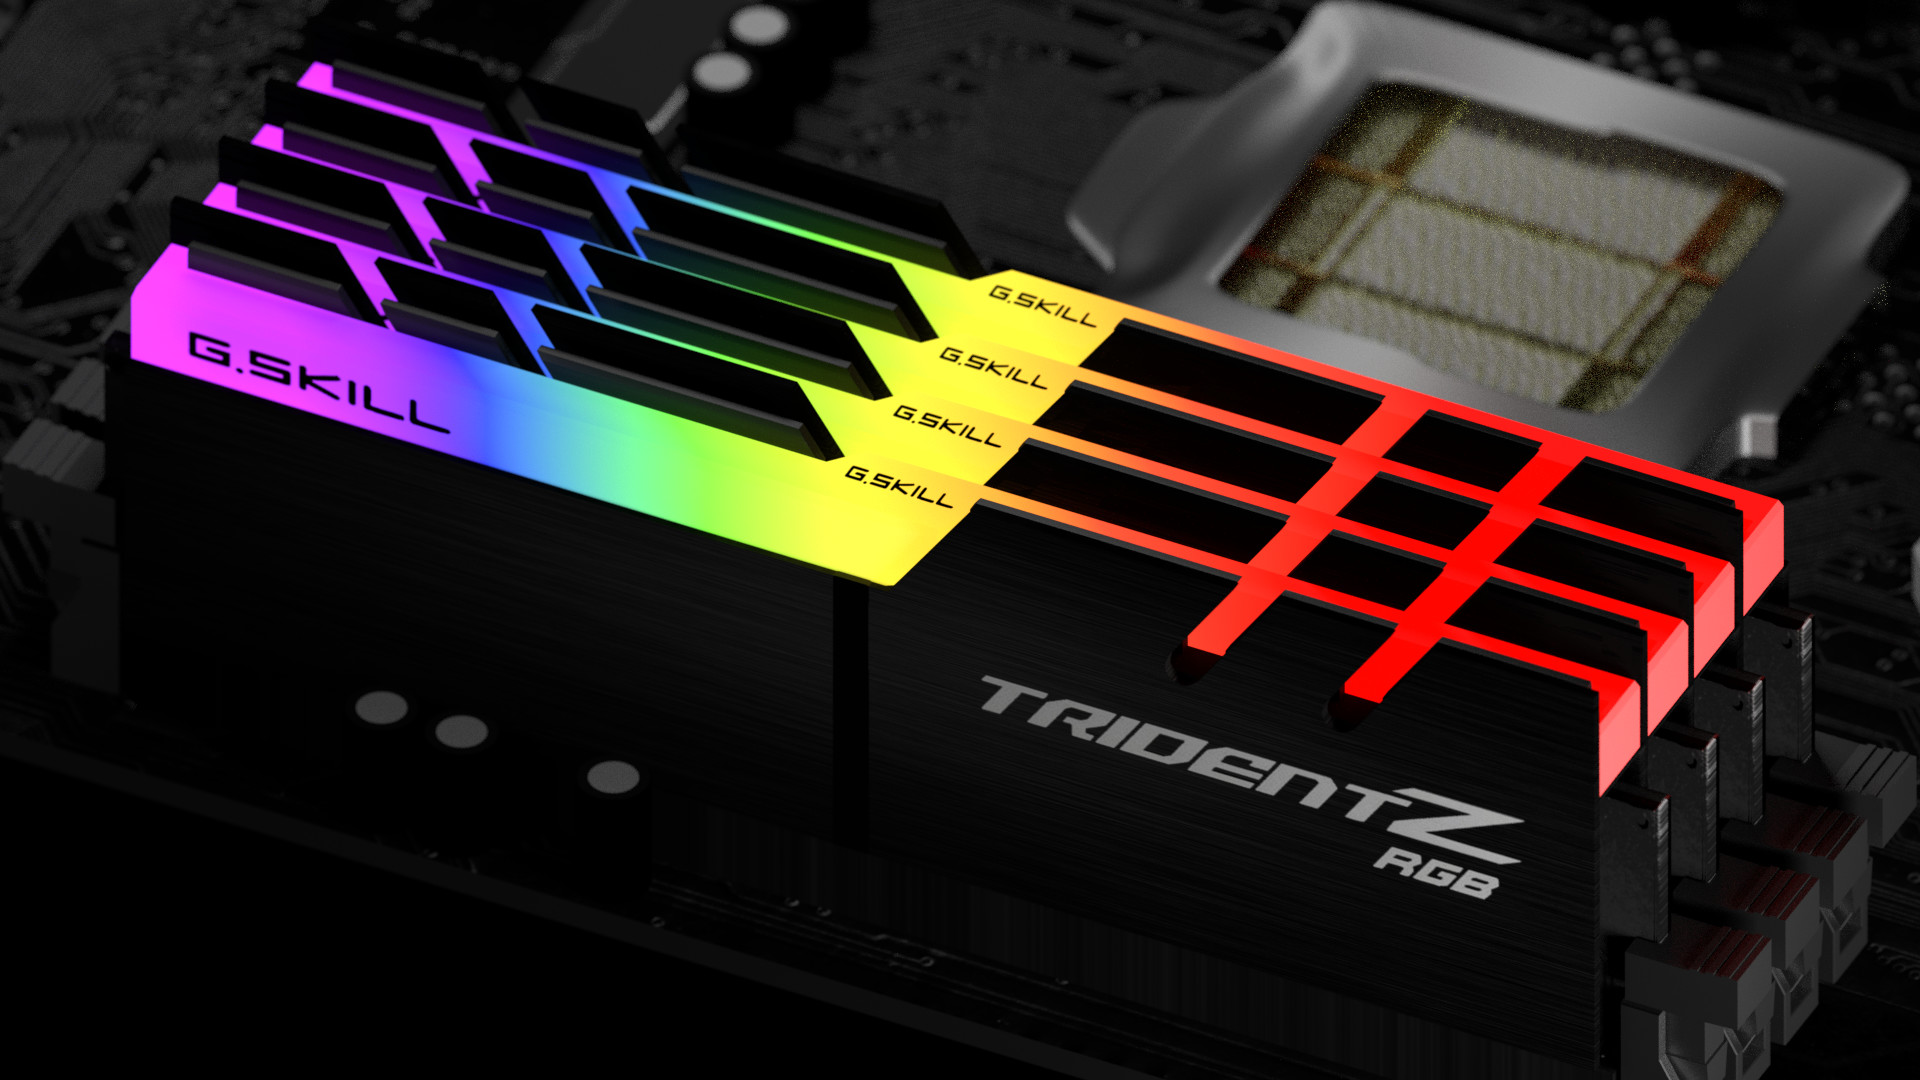
Stutters mid-fight, sharp dips when you turn the camera, a jerky picture in an open world — all of that can be caused not by the GPU or CPU, but by incorrectly configured system memory. RAM overclocking lets you get a real FPS gain without buying new parts, essentially for free, if you spend an hour or two on setup. One warning: overclocking requires careful voltages and mandatory stability testing. When you follow the rules, the procedure is fully safe for the hardware.
Why overclock system memory at all?
Most gamers look at RAM capacity and forget about speed. Meanwhile, memory sold as “DDR4-3200” runs at a base 2133 MHz without a BIOS profile enabled — roughly a third slower than the rated effective speed. That directly affects how smooth games feel.
RAM overclocking still matters even if you already enabled XMP: on top of the factory profile you can gain extra frames by tuning timings manually.
How frequency and timings affect games
A simple analogy: memory frequency is the width of the road that data travels from RAM to the CPU. Timings are the delays at traffic lights along that road. A wide road with frequent lights is not always faster than a narrower one with fewer stops. Both parameters matter together.
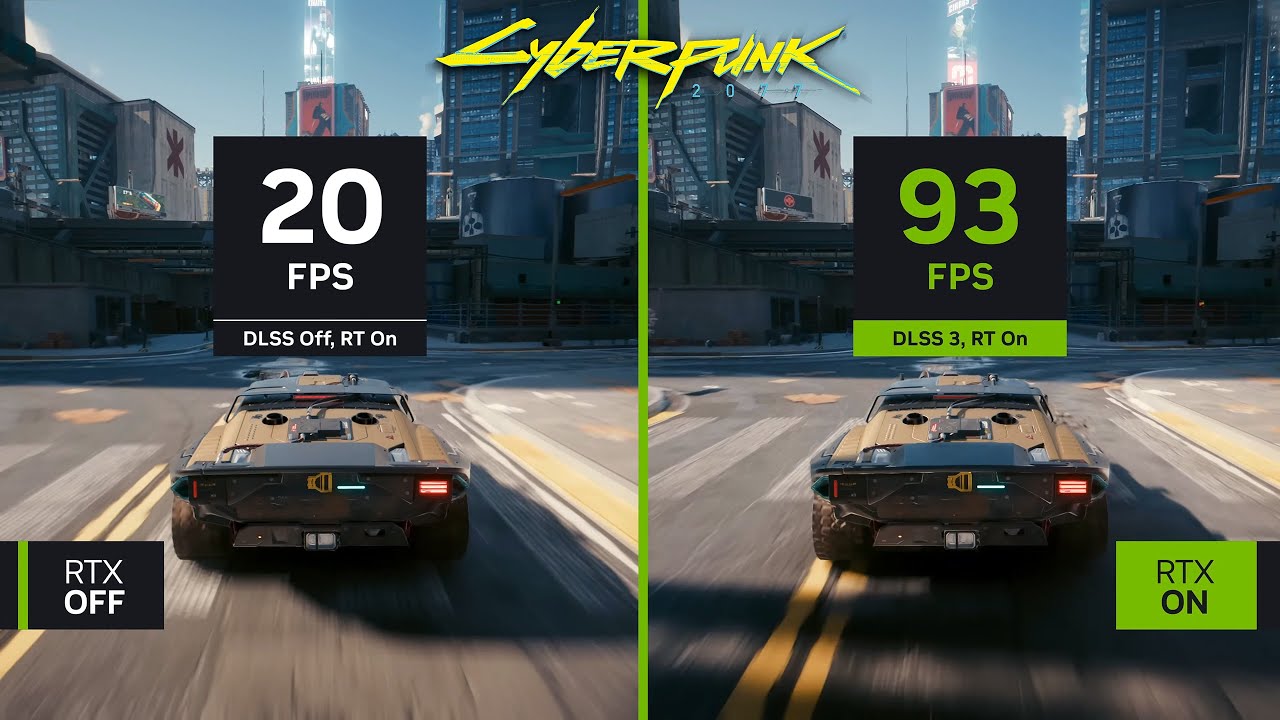
In games it shows up like this: higher frequency raises average FPS, while lower timings improve frame consistency, reduce stutters, and lift 1% FPS and 0.1% FPS. Smoothness is felt through those low percentiles: if average FPS is 120 but 1% FPS drops to 40, you feel hitching even without looking at the counter.
Tests show that moving from a base 2133 MHz to 3600 MHz, all else equal, gives up to 8–12% FPS gain from overclocking on AMD Ryzen platforms and 5–8% on Intel. The 1% FPS metric rises even more — about 15–20% in CPU-bound scenes. In some titles, for example Ashes of Singularity with a CPU-oriented test, the FPS gain from overclocking exceeds 11% when moving from 4800 to 6800 MT/s on DDR5.
Basic preparation: what to know before entering BIOS
Before you start memory overclocking in BIOS, make sure the system supports it and prepare the right software.
Does your PC support overclocking?
Whether you can overclock RAM is determined primarily by the motherboard chipset, not by the brand.
Chipset compatibility with RAM overclocking:
| Vendor | Chipset | RAM OC | Notes |
|---|---|---|---|
| Intel | Z490 / Z590 / Z690 / Z790 | Yes | Full overclocking + manual timings |
| Intel | B560 / B660 / B760 | Yes | Full overclocking + manual timings |
| Intel | H510 / H610 | No | JEDEC base speeds only |
| AMD | X370 / X470 / X570 / X670 / X870 | Yes | Full overclocking + EXPO/DOCP |
| AMD | B350 / B450 / B550 / B650 / B850 | Yes | Overclocking available, excellent stability |
| AMD | A320 / A520 / A620 | Yes | Supports XMP/A-XMP and manual frequency changes |
On Intel platforms, manual frequency and timing overclocking is supported by flagship Z-series chipsets (Z490, Z590, Z690, Z790, and so on), and starting with the 500-series lineup also by midrange B-chipsets (B560, B660, B760) and H770. Only lower-end chipsets such as H510 and H610 restrict RAM overclocking, where memory stays strictly within JEDEC limits.
On AMD platforms, almost all chipsets support memory overclocking: B350, B450, B550, B650, X370, X470, X570, X670. Even ultra-budget boards on AMD A320, A520, and A620, despite CPU core overclocking limits, officially support XMP/EXPO profiles and allow manual frequency and timing adjustments in BIOS.
Another limiting factor is the memory controller built into the CPU. It decides the maximum frequency at which RAM can run stably. On the same CPU model, controller quality varies from sample to sample — the classic “silicon lottery,” and there is nothing you can do about it. The only way to learn the ceiling is to test it in practice.
Required software for testing
Before changing anything in BIOS, install these programs:
- CPU-Z — shows current memory frequency, timings, and chip type in real time; free
- AIDA64 — measures memory bandwidth and latency before and after overclocking; a free demo is available
- TestMem5 (TM5) with the Extreme @ anta777 profile — the primary stability tool; runs directly from Windows
- MemTest86 — a deeper test; boots from a USB stick and runs outside the OS
- DRAM Calculator for Ryzen — for AMD AM4 platforms (built exclusively for DDR4); suggests safe timings automatically by chip type and frequency
- Asrock Timing Configurator / ZenTimings — monitors current timings without a reboot
Run AIDA64 before any changes and save the results — you will need them for comparison.
Level 1. One-click overclocking: how to enable an XMP or EXPO profile
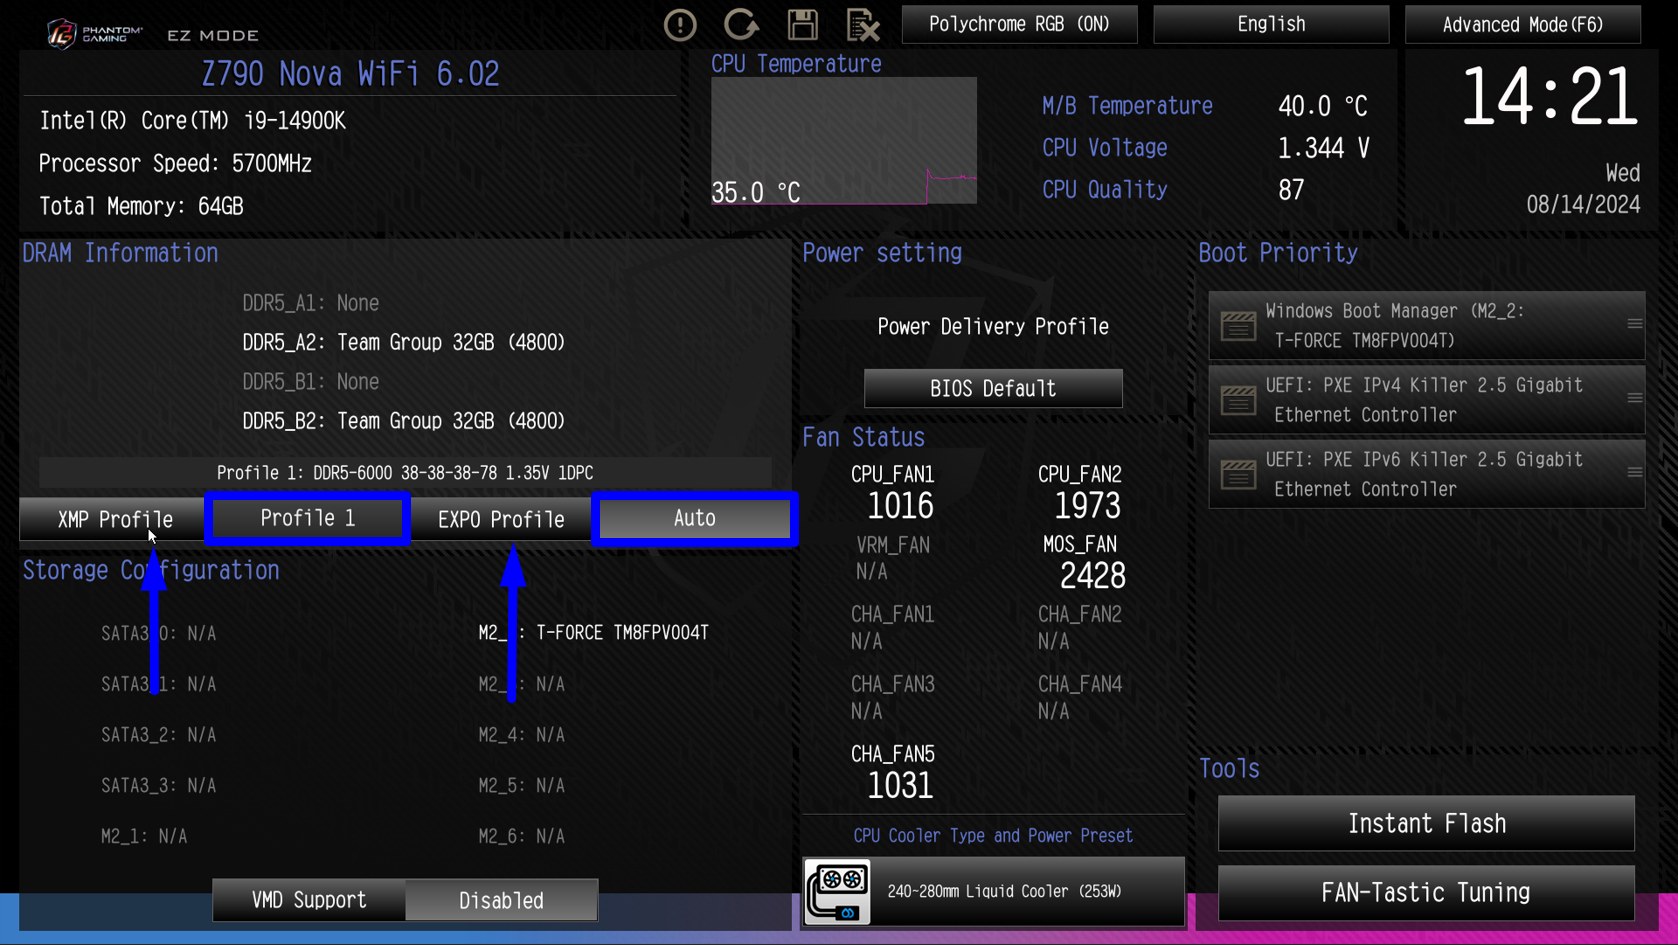
This is the simplest and fastest way to overclock RAM. It even works as memory overclocking for beginners: no manual tuning, one switch, and the memory runs at the manufacturer’s rated frequency with the correct timings.
XMP (Intel Extreme Memory Profile) and EXPO (Extended Profiles for Overclocking from AMD) are factory overclocking profiles stored directly in the memory module. The vendor already tested these settings and guarantees stability on most motherboards. Without an active profile, even an expensive DDR4-3600 kit runs at slow base 2133 MHz speeds.
How to enable an XMP profile — step by step:
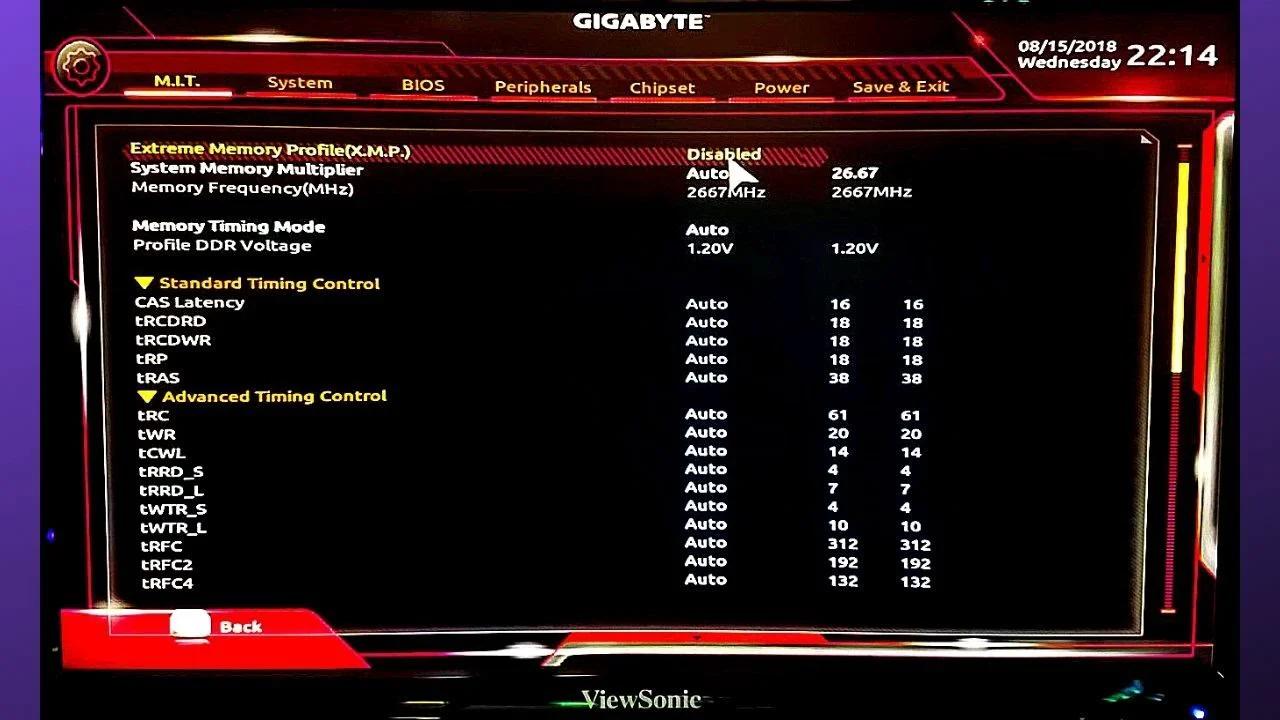
- Restart the PC and during the POST screen (before Windows loads) press the BIOS key — usually Delete, F2, or F12; the correct key is shown on screen at boot
- In BIOS find the memory-related section: on ASUS boards it is called Ai Tweaker, on MSI — OC, on Gigabyte — Tweaker, on ASRock — OC Tweaker
- Find the XMP option (Intel platforms) or EXPO / DOCP / A-XMP (AMD)
- Switch the value from Disabled to Profile 1 (or Profile 2 if available — Profile 1 usually gives the higher frequency)
- Press F10 to save and exit, then confirm
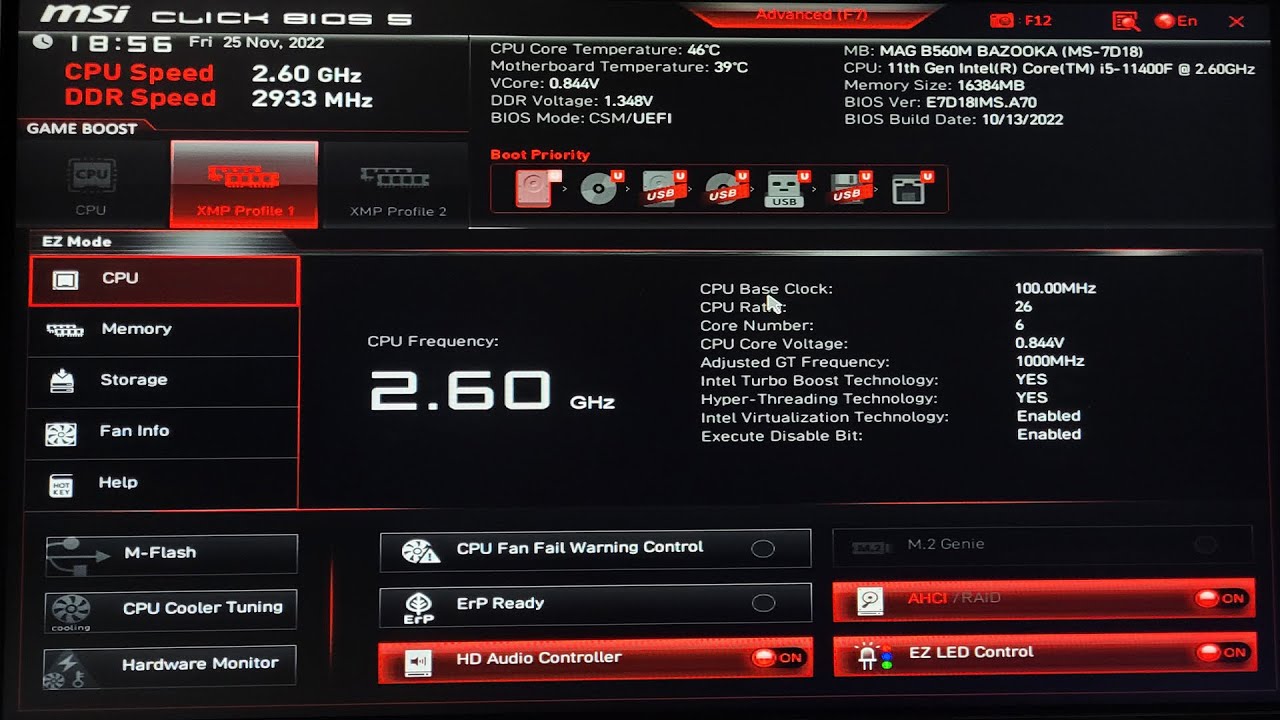
- After Windows loads, open CPU-Z, Memory tab: the frequency should match the rated speed (for DDR4-3600 — 1800 MHz in CPU-Z, meaning an effective 3600 MT/s)
What to do if the PC will not boot with XMP: Sometimes after enabling the profile the system goes to a black screen or reboot loop. Most motherboards then automatically reset settings after 2–3 failed boots and start with base parameters. If that does not happen, you need a manual CMOS clear (covered in more detail in the troubleshooting section).
Try Profile 2 instead of Profile 1 — it usually uses a slightly lower frequency but more stable timings. You can also enable XMP and manually lower frequency by one step: for example, set 3200 MHz on 3600 MHz sticks while keeping XMP timings, which often restores stability while preserving low latency.
Level 2. Manual RAM overclocking: a step-by-step guide
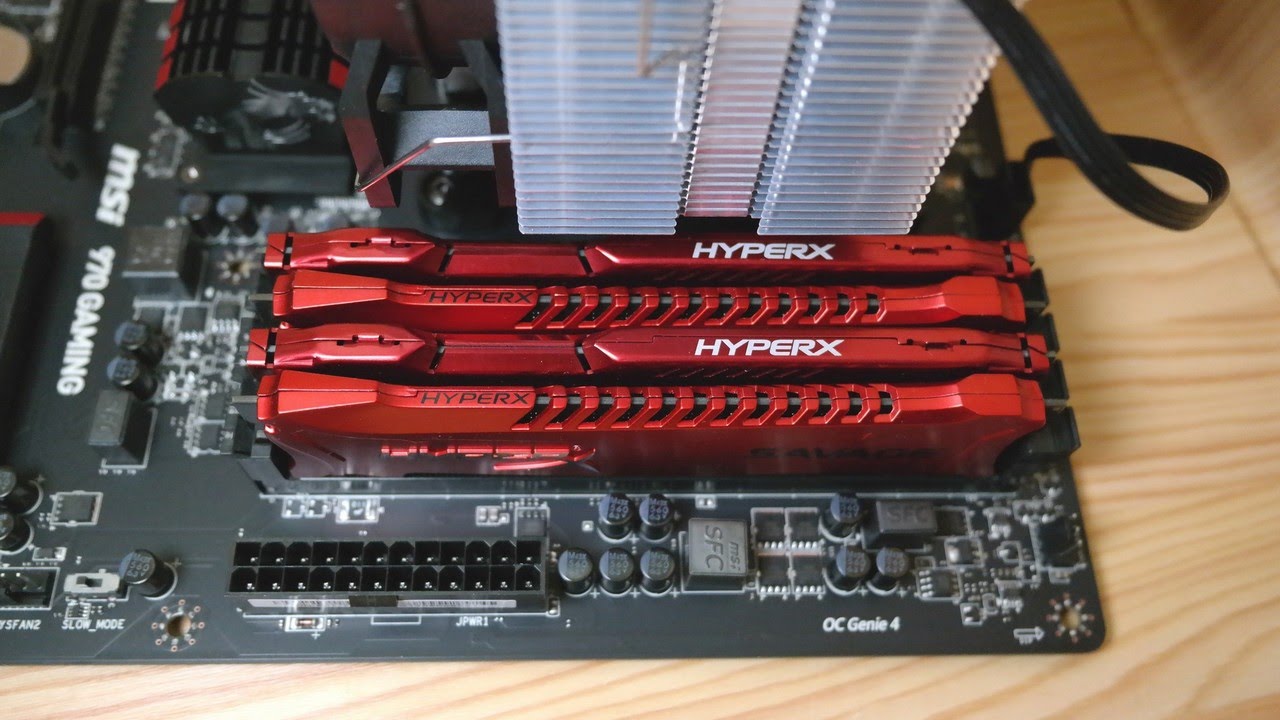
Manual overclocking is the next level after XMP. It lets you push memory beyond the factory profile, or restore stability where XMP fails. This is full memory overclocking in BIOS with every parameter set by hand.
Step 1. Finding the frequency limit
The first task is to find the maximum frequency at which your motherboard + memory controller + RAM chips combination works at all. You do this by raising frequency step by step with a stability test at every level.
Start by setting voltages — do this before raising frequency. Safe voltage for most DDR4 overclocking scenarios: 1.35–1.40 V on the modules (DRAM Voltage), no higher than 1.45 V. For DDR5 with Samsung or SK Hynix chips — up to 1.45–1.50 V; with Micron or SpecTek chips — no more than 1.40 V. Also raise memory-controller voltage: on Intel that is VCCSA and VCCIO (1.15–1.25 V each), on AMD — CPU SOC (1.05–1.15 V, on AM5 no higher than 1.20 V to avoid degradation).
Raise frequency in 100–200 MHz steps. After each step: save in BIOS, reboot, run AIDA64 to confirm the system works, and a short TestMem5 pass (15–20 minutes). If the test passes with no errors, go higher. If the system fails to boot or the test reports errors, that is your limit. Lock in the highest stable frequency.
Safe voltages for DDR4 and DDR5 overclocking:
| Parameter | DDR4 normal | DDR4 max | DDR5 normal | DDR5 max |
|---|---|---|---|---|
| DRAM Voltage (modules) | 1.20 V | 1.45 V | 1.10 V | 1.50 V (Samsung/Hynix) / 1.40 V (Micron) |
| VCCSA / System Agent (Intel) | auto | 1.25 V | auto | 1.35 V |
| VCCIO (Intel) | auto | 1.20 V | — | — |
| CPU SOC / SA (AMD) | auto | 1.15 V | auto | 1.20 V |
| IMC / memory controller | auto | 1.25 V | auto | 1.35 V |
Exceeding the listed maxima is not recommended — you risk degrading the memory chips and the CPU memory controller.
Platform ceiling guidelines:
- AMD Ryzen 5000 (Zen3), DDR4: stable overclocking up to 3800–4000 MHz (1:1 fabric mode)
- Intel 12th–14th gen, DDR4: up to 4000–4400 MHz with a strong controller (Gear 1)
- Intel 12th–14th gen, DDR5: 6000–6400 MT/s with two single-rank modules
- AMD Ryzen 7000 (AM5), DDR5: optimum 6000 MT/s, up to 6400–6800 MT/s on good silicon while keeping synchronous 1:1 controller mode (Gear 1)
Step 2. Tuning primary timings
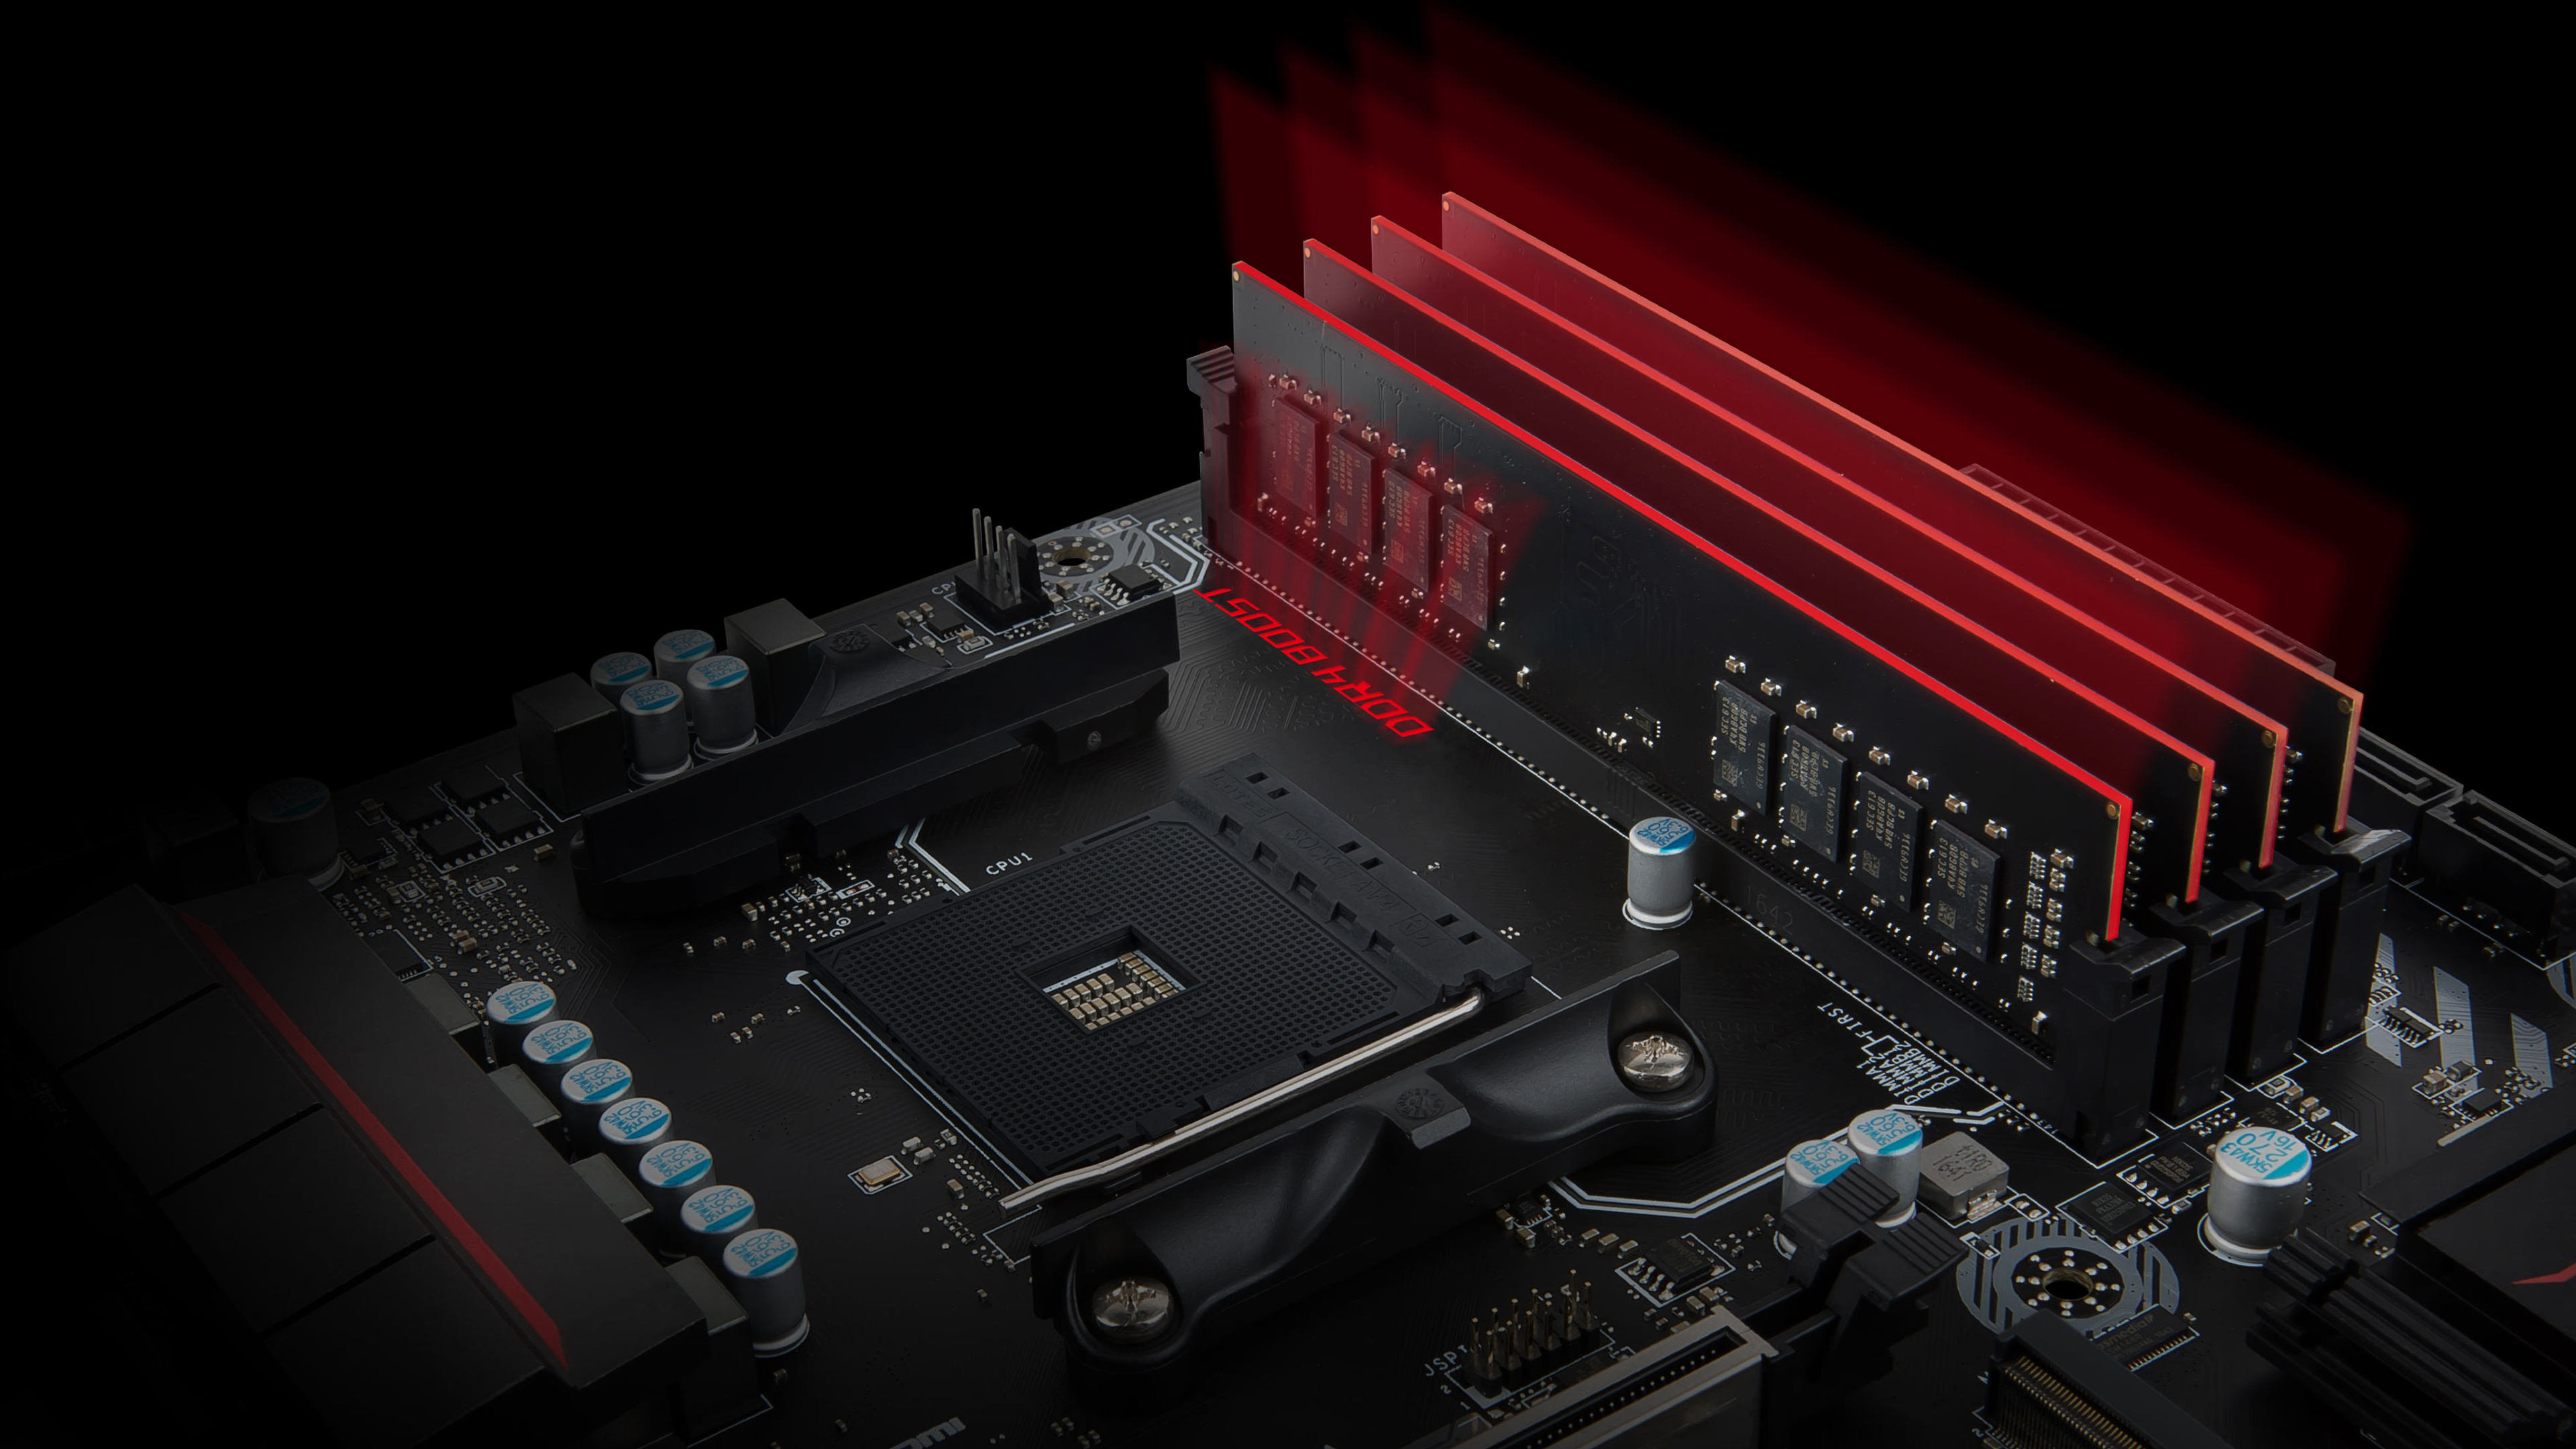
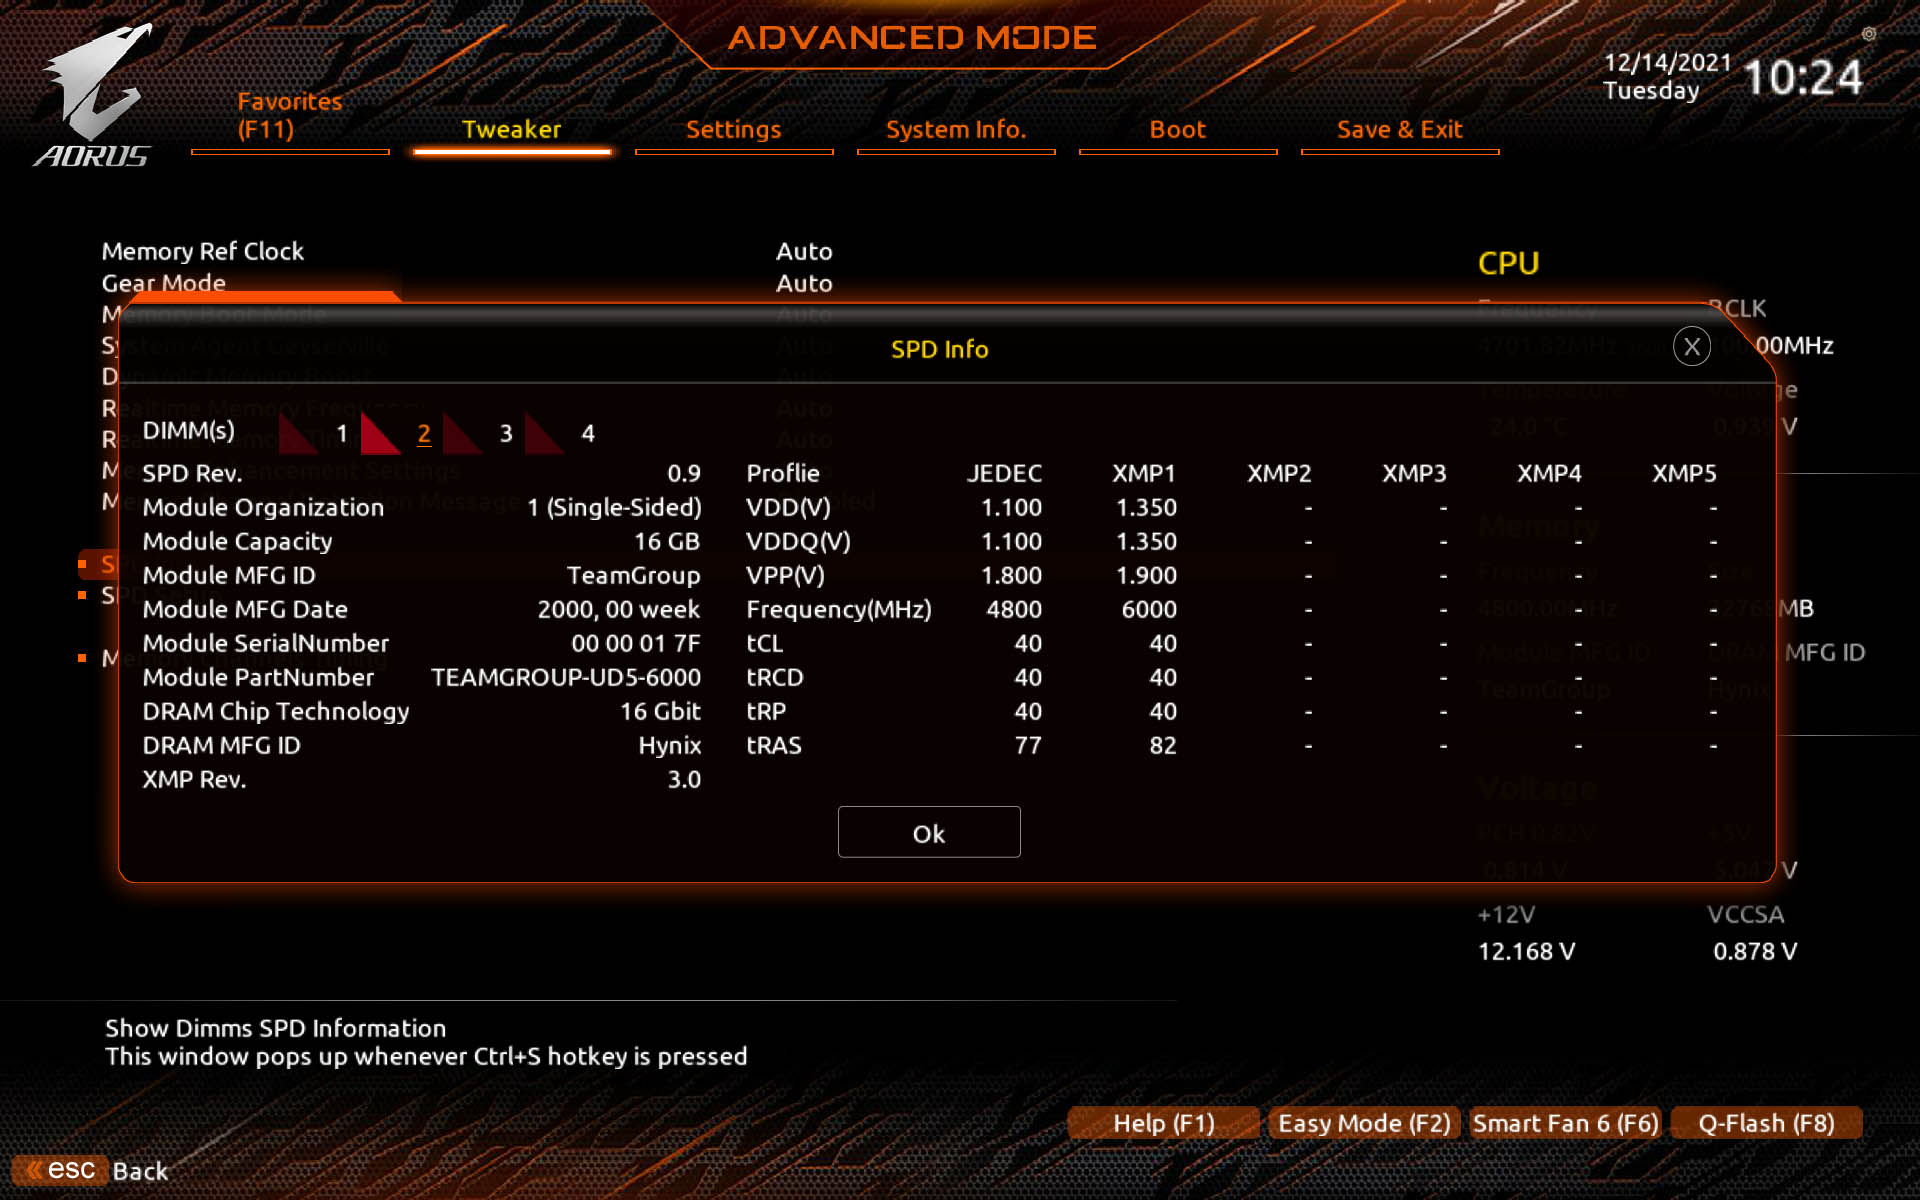
Once a stable working frequency is found, move on to RAM timing setup. Primary timings are the four main parameters shown as a string like CL16-18-18-36 or CL30-38-38-76.
- tCL (CAS Latency) — delay between the column address and the start of data transfer. The most sensitive parameter for games. For DDR4, 14–16 is optimal at 3600 MHz; for DDR5 — 28–32 at 6000–6400 MT/s. DDR5 allows even values only
- tRCD — time to open a memory row. Ideally equal to tRP or slightly higher
- tRP — time to close a row before opening the next one. Best kept equal to tRCD
- tRAS — full row open and refresh cycle. Do not drop it below tRCD + tRTP. A safe minimum for DDR5 is 52–76 clocks. For DDR4 at typical 3200–3600 MHz speeds this limit sits around 34–42 clocks. Artificially raising tRAS on DDR4 to 52 clocks will reduce performance
Lower timings one parameter at a time. After each change, run TestMem5 for at least 20–30 minutes. If there are no errors — move to the next parameter. If the system is unstable — raise the value back by 1–2 clocks.
A good starting point for RAM timing setup on a manual DDR4 3600 MHz overclock: CL16-18-18-36. For DDR5 at 6000 MT/s: CL30-38-38-76.
Approximate primary timing values by frequency:
| Standard | Frequency | Aggressive timings | Balanced | Safe start |
|---|---|---|---|---|
| DDR4 | 3200 MHz | CL14-14-14-28 | CL14-16-16-32 | CL16-18-18-36 |
| DDR4 | 3600 MHz | CL14-15-15-30 | CL16-16-16-32 | CL16-18-18-38 |
| DDR4 | 4000 MHz | CL16-16-16-32 | CL17-18-18-38 | CL18-20-20-42 |
| DDR5 | 5600 MT/s | CL28-34-34-68 | CL30-36-36-72 | CL36-38-38-76 |
| DDR5 | 6000 MT/s | CL28-36-36-72 | CL30-38-38-76 | CL36-40-40-80 |
| DDR5 | 6400 MT/s | CL30-38-38-76 | CL32-39-39-78 | CL38-42-42-84 |
Aggressive timings suit high-potential chips (Samsung B-Die for DDR4, Hynix A-Die for DDR5). Safe start is a universal baseline for any chips.
Step 3. Secondary and tertiary timings
Secondary timings give a smaller gain than primary ones, but on high-frequency systems it is noticeable. Key parameters worth tightening:
- tRFC — cell refresh time. For DDR4, 300–400 is optimal; for DDR5 — from 240 in steps of 16. Lower means higher bandwidth, but instability shows up here first
- tREFI — interval between refresh commands. One of the most effective parameters: the higher the value, the more time memory spends transferring data instead of refreshing. Safe range for DDR4 — 32767–65535; for DDR5 — 32767–87040. At a high tREFI, cells stay without recharge longer and become extremely temperature-sensitive. If RAM chips heat above 50–55 °C, they start losing charge quickly, causing instant instability and errors. Memory airflow is required to keep chips from overheating, where a high tREFI physically cannot stay stable
- tRRD_L, tRRD_S — delays between accesses to different rows. Reduction step — 4 clocks
- tWTR_L, tWTR_S — delays between write and read. Reduced in steps of 2
Beginners can focus on tREFI alone — it offers the best effect-to-effort ratio among all secondary and tertiary parameters.
How to test memory stability correctly
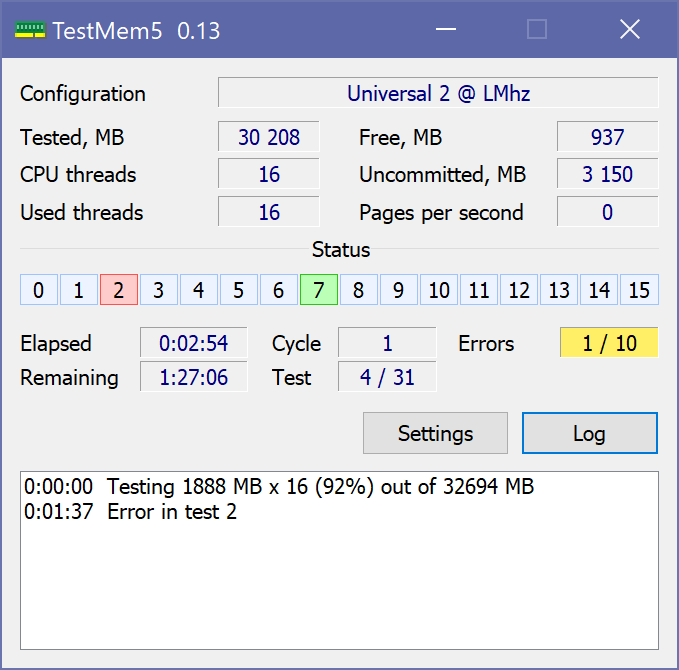
Testing is not optional — it is a mandatory part of any overclock. Unstable memory does not always show a blue screen immediately: it can quietly corrupt system files for years, cause random game crashes, and produce unexplained Windows errors.
The main tool is TestMem5 with the Extreme @ anta777 profile. It is a collection of stress patterns designed specifically to expose RAM instability. Steps:
- Download TestMem5 and the Extreme @ anta777 profile (anta777.cfg)
- Place the profile file in the TestMem5 folder
- Run tm5.exe as administrator and select anta777.cfg
- Set the cycle count: at least 2 for a quick check, 4–6 for a full test
- Start and watch the error counter: it must stay at zero
After a clean TestMem5 pass, also run y-cruncher — a numerical test that loads the CPU + memory link differently from TM5 and catches errors TM5 sometimes misses.
A full TestMem5 cycle takes from 30 minutes to 2 hours depending on memory capacity and system power. Do not cut it short to save time — a long test is what finds rare errors that show up in games at the worst moment.
Common problems and quick fixes
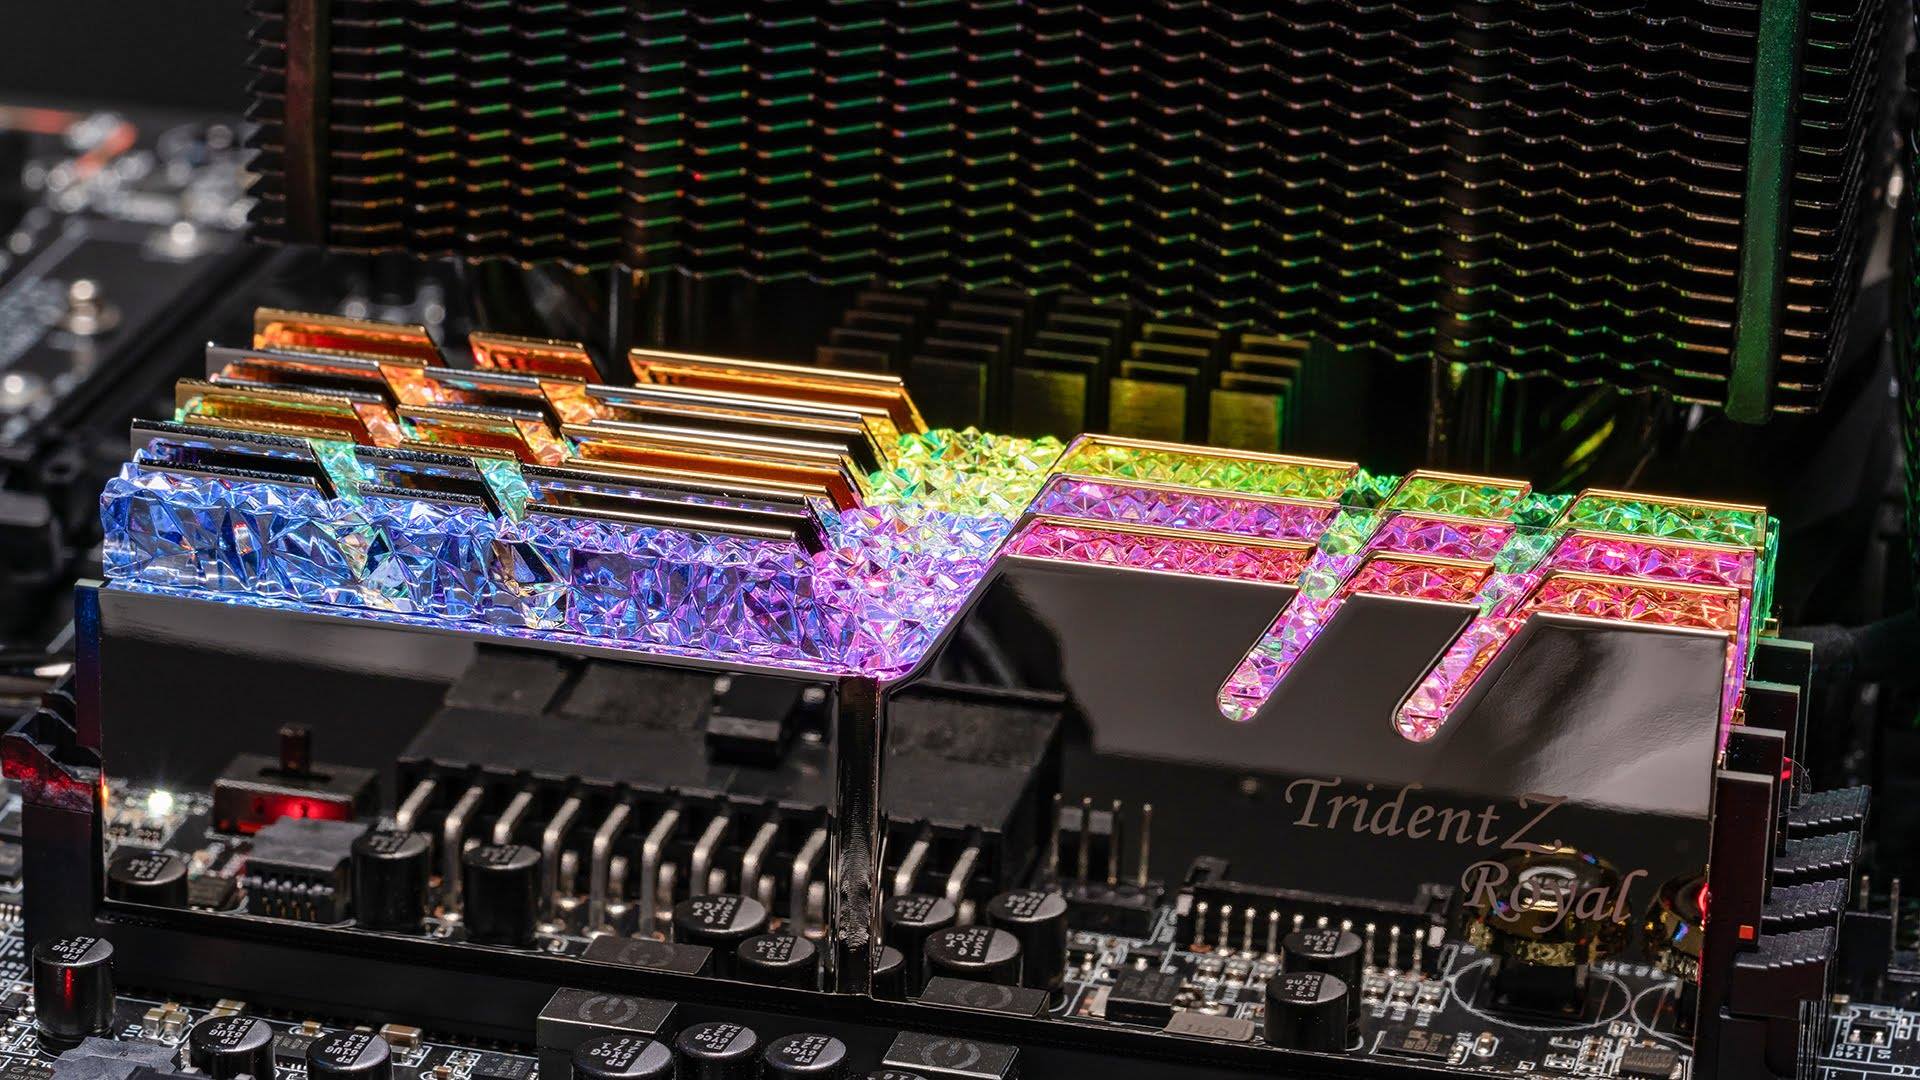
The PC will not power on or shows a black screen
This is the most common situation when overclocking memory in BIOS — especially on a first attempt. Nothing catastrophic: data on drives is safe, and the PC itself is not damaged. You simply need to reset BIOS settings to defaults.
Method 1 — automatic reset. Most motherboards automatically clear BIOS after 2–3 failed boot attempts and start with base parameters. Power the PC on and off with the power button a few times and wait for Windows to load.
Method 2 — CMOS clear via jumper. Shut down the PC and unplug power. On the motherboard find the jumper labeled CLR_CMOS, JBAT, or CLEAR. Short the contacts with a screwdriver for 10 seconds with power disconnected. Power on — BIOS will load with factory defaults.
Method 3 — remove the CMOS battery. If there is no jumper or you cannot find it: unplug the PC, remove the flat CR2032 battery from the motherboard, wait 30 seconds, then reinstall it. The effect is the same as the jumper — a full BIOS reset.
After a CMOS clear you will need to set everything again, including XMP/EXPO and overclocking parameters. Start with a lower frequency or add a little more voltage.
Errors during stress tests or a blue screen (BSOD)
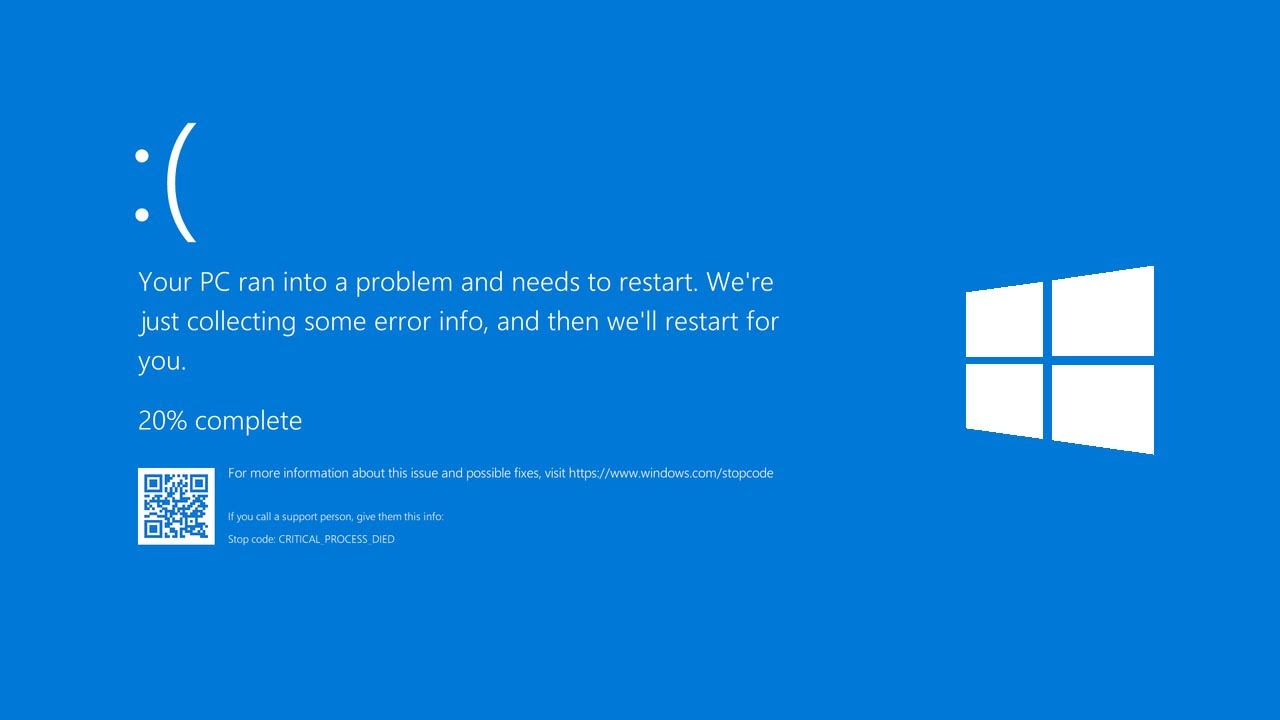
If TestMem5 catches errors or Windows shows a blue screen (BSOD) with memory-related codes (MEMORY_MANAGEMENT, WHEA_UNCORRECTABLE_ERROR, PAGE_FAULT_IN_NONPAGED_AREA) — the current settings are unstable.
Try one of these options:
- Raise voltage by 0.02–0.05 V — most often helps with early-test errors or high frequency
- Loosen primary timings by 2 clocks — if voltage is already at the top of the safe range
- Lower frequency by one step — if neither voltage nor timings help: the memory controller cannot sustain that frequency
- Raise memory-controller voltage (VCCSA/VCCIO for Intel or SOC for AMD) — sometimes instability comes from this, not from the sticks themselves
A blue screen in-game after a seemingly successful short test means the test was not long enough. Run a full TestMem5 cycle for 4–6 iterations.
If you would rather not spend time tuning and testing yourself, check the HYPERPC catalog, where every gaming PC ships with memory that already has XMP or EXPO profiles enabled and is matched to the specific CPU and motherboard. Each system is stress-tested before shipping, so the memory already runs stably at full speed.
Conclusion
RAM overclocking is one of the few ways to get a real FPS gain without buying new hardware. Enabling an XMP/EXPO profile takes five minutes and can deliver up to 10–15% more in games versus base memory speeds. Manual RAM overclocking with timing tuning can add another 5–10% on top and noticeably improve 1% FPS and 0.1% FPS — what gamers call “smoothness.”
The main rule: every overclocking step ends with a stability test. An unstable system means not only stutters and crashes, but also potential file corruption. TestMem5 with the anta777 profile and y-cruncher cover this reliably.
How to overclock RAM on previous-generation DDR4 platforms is a well-documented topic with years of practice and ready results for specific chips. DDR5 overclocking is evolving fast: the new standard has significantly higher potential, and tools for tuning it get easier every year.
Share in the comments how many percent of FPS gain you got after overclocking — results on current AM5 and Intel 13th–14th gen platforms are especially interesting.

 Arabic
  English