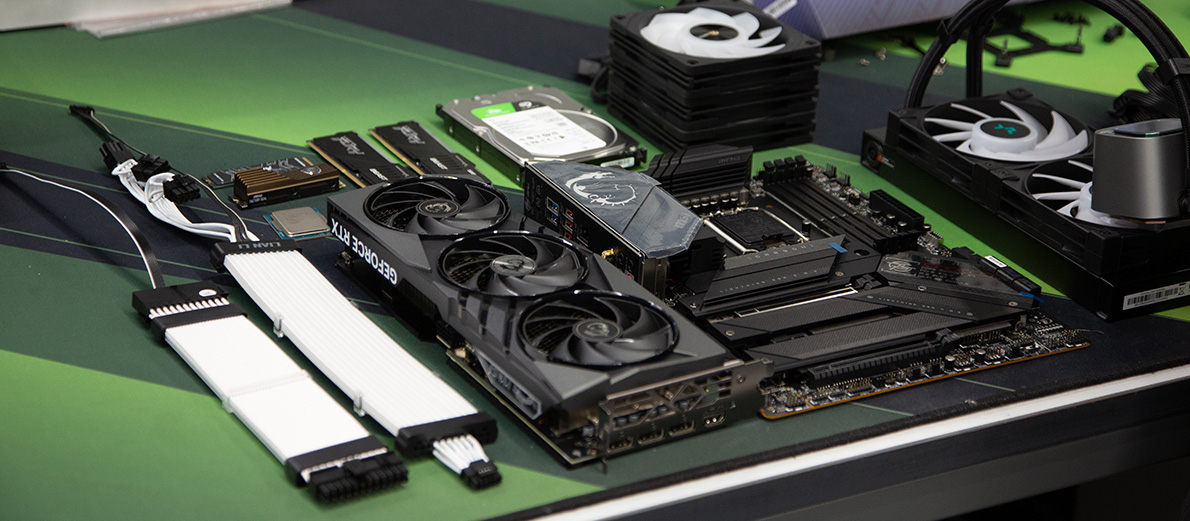
If you decide to make a gaming PC yourself, it's important to understand the process. Otherwise, you may face issues with compatibility, overheating, malfunctions, installation difficulties, poor cable management, and so on. To avoid these problems, let’s break down how to build a gaming computer correctly and what is needed for it.
Should You Build a Gaming PC Yourself?
If you have no experience, building a gaming pc can be risky. Even small mistakes can lead to malfunctions or incorrect component operation. For example, incorrect fan placement may cause overheating or throttling. If you apply too much pressure when connecting front panel cables, delicate motherboard pins can bend or break. Improper liquid cooling installation may result in leaks.
To avoid difficulties and costly repairs, consider buying a pre-built gaming PC.
Building Your Own Gaming PC vs. Pre-Built HYPERPC
| Building Your Own Gaming PC | HYPERPC Pre-Built PC |
|---|---|
| Risk of choosing incompatible components | Perfectly matched components |
| Risk of damaging parts during assembly | Professional setup and installation |
| No warranty on a self-built PC | Full warranty on the entire system |
| Time-consuming component selection | A ready-to-use PC right out of the box |
| Hard BIOS setup and optimization | Expert tuning and overclocking |
Sequential assembly steps
Step 1: Preparing Your Workspace and Tools
What do you need to build a gaming PC? The best way to make a PC is on a large desk in a well-lit room. Cover the desk with a soft cloth to prevent damage to components.
Needed tools:
- A Phillips screwdriver, preferably with a magnetic tip
- A set of mini screwdrivers for small screws
- Pliers for tight fittings
- A flashlight for poorly lit areas
Warning: Do not ignore static electricity protection. Use anti-static gloves or a wrist strap.
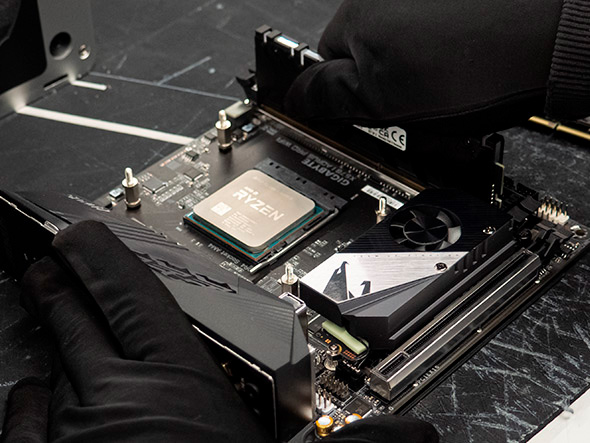
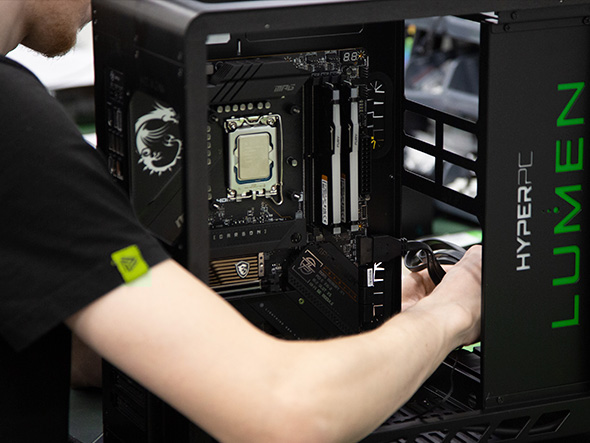
Step 2: Installing the Processor
To install the CPU:
- Lift the metal lever on the motherboard socket.
- Align the triangular marks on the CPU and socket.
- Gently place the CPU in the socket – it should sit perfectly flat
- Lower and secure the metal lever.
Warning: If you press too hard, you may damage the CPU pins. Is it hard to build a gaming pc? It can be if you’re not careful!
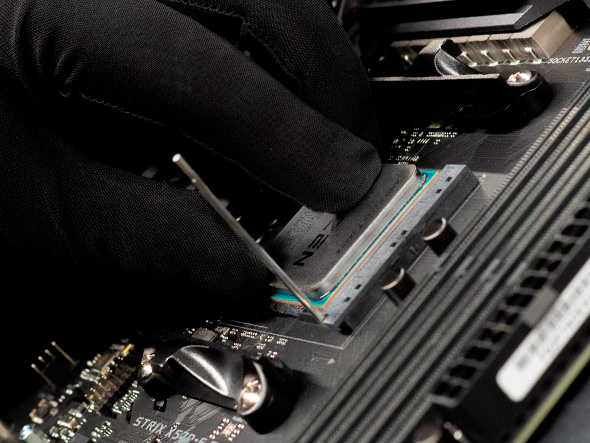
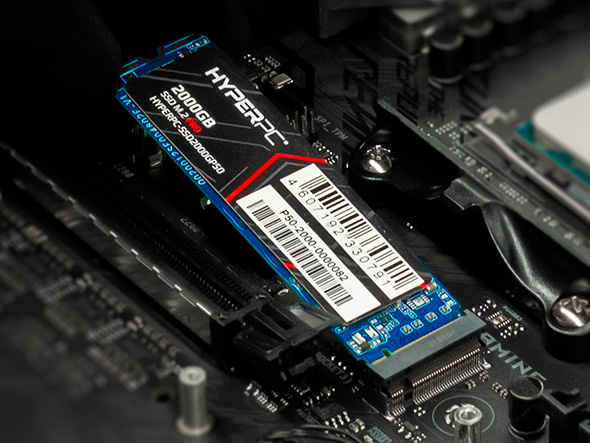
Step 3: Installing the M.2 SSD
Insert the M.2 SSD into the designated motherboard slot. Secure it with a screw.
Warning: Do not remove the factory label; it does not interfere with heat dissipation but removing it will void the warranty.
Step 4: Installing the Cooling System
Refer to the manufacturer’s manual for installation. If you have a tower cooler, install it now. If using liquid cooling, first install the bracket, then the radiator and pump.
Warning: Do not overtighten the cooling unit. A damaged pump or bent pipes may cause leaks.
Step 5: Installing RAM Modules
- Open the RAM slot clips.
- Align the notches on the RAM sticks.
- Insert the RAM until you hear a click.
Warning: Insert the sticks into slots 2 and 4 (not 1 and 3) for dual-channel mode.
Step 6: Installing the Motherboard in the Case
- Insert the I/O shield into the case.
- Align the motherboard with the standoffs.
- Secure it with screws.
Warning: Dropped screws can be hard to find and may cause a short circuit. A magnetic screwdriver is needed.
Step 7: Connecting the Front Panel Cables
Connect the front panel cables (H.D.D LED, POWER LED, RESET SW, POWER SW) to the motherboard.
Warning: Front panel connectors are fragile. Insert them carefully.
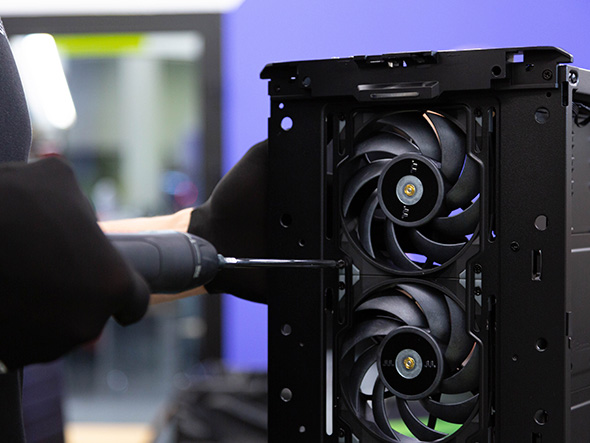
Step 8: Installing Case Fans
If your case lacks pre-installed fans:
- Attach fans to the front panel for air intake and the top/rear panel for exhaust.
- Connect the fan cables to the SYS_FAN headers on the motherboard.
Warning: Avoid plugging more than three fans into a single SYS_FAN header to prevent overload.
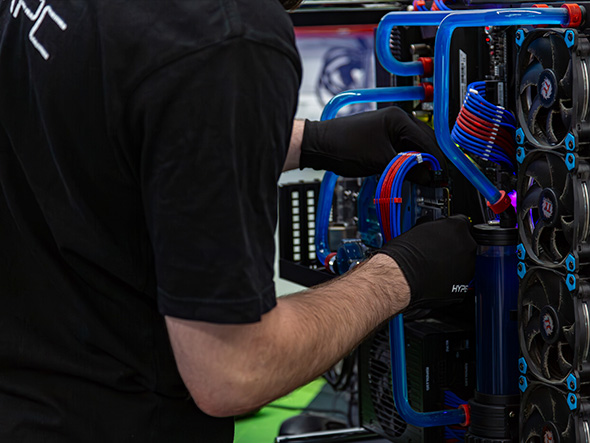
Step 9: Installing Liquid Cooling (If Applicable)
- Attach the radiator and fans.
- Apply thermal paste to the CPU.
- Install the pump onto the processor.
- Connect the pump to the AIO_PUMP or CPU_FAN header.
Warning: Avoid bending or stretching the cooling tubes excessively, as this can cause leaks.
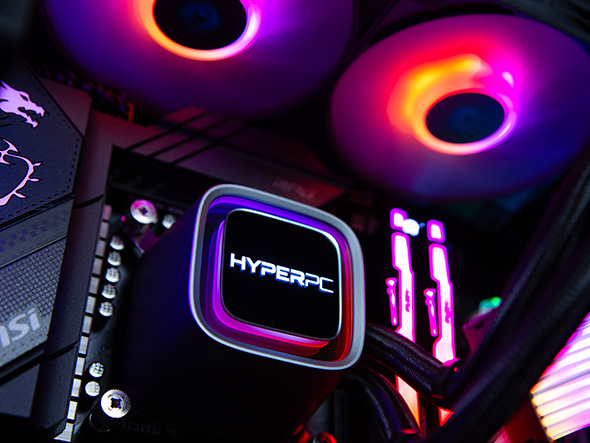
Step 10: Connecting RGB Lighting
Identify the type of RGB lighting your components use:
- RGB: Basic lighting (4-pin, 12V).
- ARGB: Addressable lighting (3-pin, 5V).
- FRGB: Fixed color, powered via Molex.
Use the motherboard’s software for synchronization:
- ASUS: Aura Sync
- MSI: Mystic Light RGB
- Gigabyte: RGB Fusion 2.0
- ASRock: Polychrome RGB
Warning: Some AIO coolers use USB headers for display and control. Download the necessary software from the manufacturer’s website.
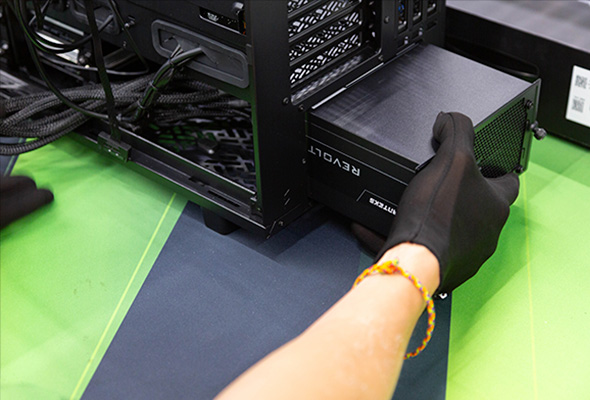
Step 11: Installing the Power Supply
- Secure the PSU at the rear of the case.
- Connect the 20+4 pin and 4+4 pin motherboard power cables.
- Route the 6+2 pin cables for the GPU.
Warning: Additional cable ties are needed for better cable management.
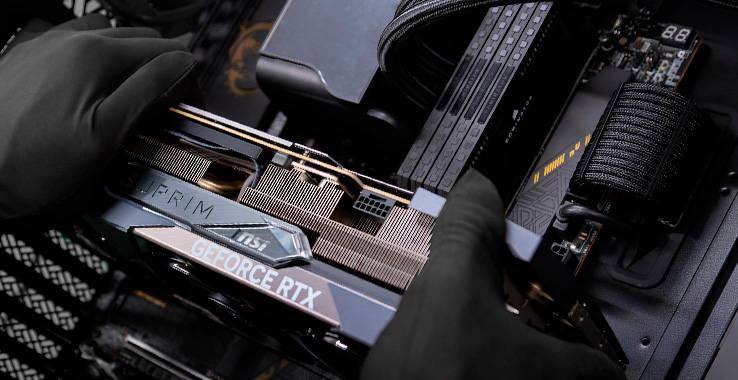
Step 12: Installing the Graphics Card
- Remove the case slot covers.
- Lower the PCI-E retention clip.
- Insert the GPU until it clicks.
- Secure it with screws and connect power cables.
Step 13: First Boot and BIOS Check
Before closing the case, power on the system and check if BIOS loads. If the PC doesn’t start, check cable connections.
Final Thoughts: How to build your own gaming PC?
Building your own gaming PC requires:
- A prepared workspace
- Proper component selection
- Careful installation of each part
- BIOS setup and optimization
If you want to avoid the risks of building a gaming computer yourself, consider buying a pre-built HYPERPC.
HYPERPC – The Ultimate Gaming PC
With HYPERPC, you avoid:
- Searching for compatible components
- Time-consuming cable management
- Hours of assembling a gaming pc
- Risk of damaging parts during installation
Our PCs are built by professionals using cutting-edge hardware, ensuring you get the most performance for gaming. Choose HYPERPC and enjoy a hassle-free gaming experience!