We're here to help
Bespoke Liquid Cooling: How a Custom Loop Is Built for a Specific PC
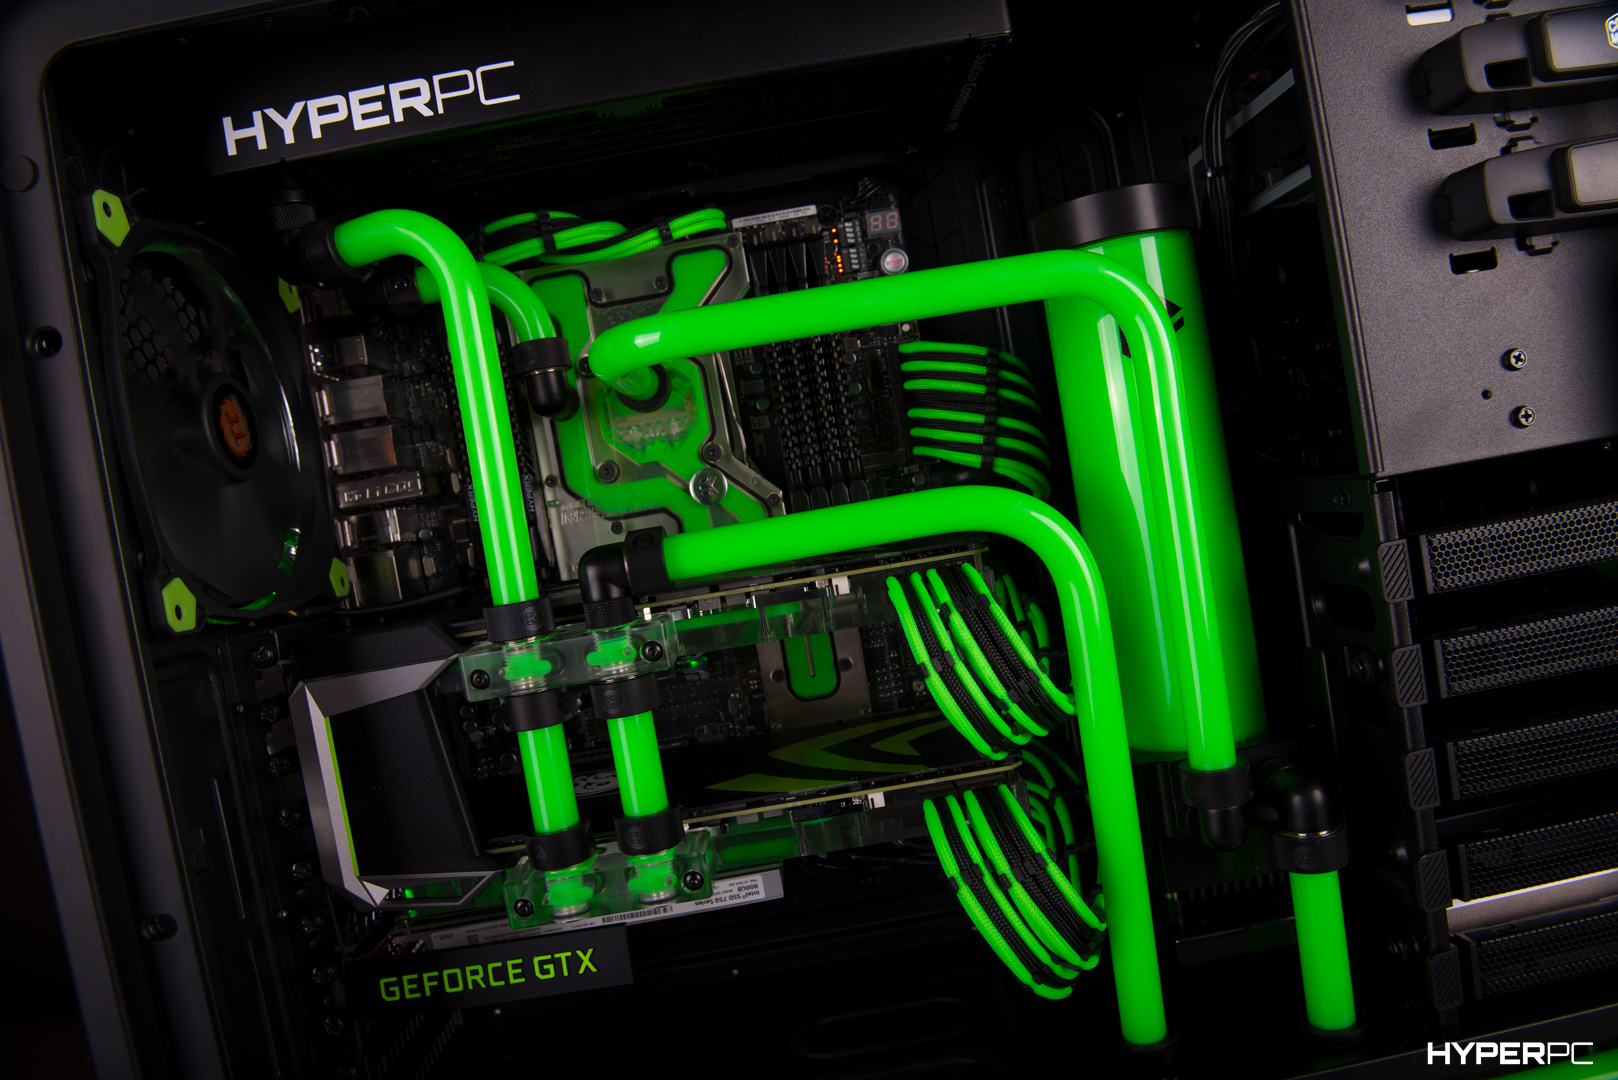
A custom liquid-cooling system is more than a collection of parts connected according to a generic set of instructions. It is a complex engineering project designed specifically for an individual hardware configuration. Unlike a factory-sealed, maintenance-free all-in-one (AIO) cooler, a custom cooling loop is designed from the ground up around the exact dimensions of the chosen case, the position of each component, the system's total heat output and the owner's aesthetic preferences.
How a Custom Loop Differs from an AIO Cooler
To understand the practical benefits of custom water cooling, it helps to compare it with the two main alternatives: conventional air cooling and factory-sealed AIO coolers.
Air cooling is simple and reliable, but its performance has physical limits. Tower coolers can handle processors with a heat output of up to around 150–180 W. Beyond that point, their ability to remove heat diminishes, the fans ramp up to full speed and become noisy, and the chip temperature approaches the thermal-throttling threshold.
An AIO is a factory-assembled unit with a sealed loop. It is more effective than air cooling and easier to install than a custom system. However, it also has significant limitations: fixed-length hoses, a single water block designed only for the processor, no scope for upgrades or coolant replacement, and a pump with a limited service life—typically three to five years—that cannot normally be repaired.
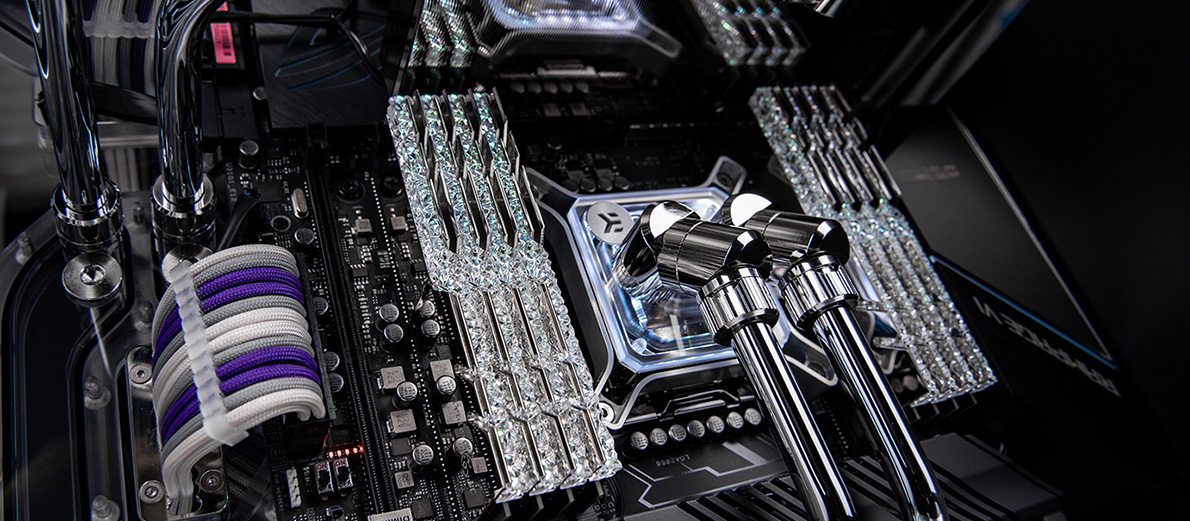
A bespoke liquid-cooling loop overcomes these limitations. Its key advantages include:
- Flexible layout. The loop is designed around the architecture of your case. The radiators, reservoir and pump are placed where they will work most effectively rather than where the constraints of a factory design dictate;
- Simultaneous CPU and GPU cooling. A single loop efficiently removes heat from both the processor and the graphics card;
- Low temperatures and quiet operation. Thick copper radiators with a high fin density, paired with a powerful premium D5 pump, can dissipate far more heat than mass-market solutions. The fans can therefore run at low speeds, making the system almost silent;
- A distinctive appearance. Hardline tubing, coloured coolant, multi-zone RGB lighting and tidy cable management transform the PC into a unique piece of engineering;
- Long service life. With regular, proper maintenance, a custom loop can operate reliably for more than ten years. Fittings, pumps and water blocks can also be replaced or upgraded individually when the PC is updated.
Step 1. Designing the Cooling Loop
A reliable custom loop begins not with buying fittings and tubing, but with careful planning. The engineer examines the hardware configuration in detail and develops a layout that will provide the required cooling capacity.
Checking case compatibility. The first step is to inspect the available radiator mounts. The clearances at the top, front and bottom of the chassis are measured. Both radiator size—240, 280, 360 or 420 mm—and thickness must be considered. Some spacious cases can accommodate substantial 45–60 mm radiators, while compact models may be limited to slim 30 mm units. The engineer also checks that each radiator and fan assembly will not obstruct the RAM slots or interfere with the motherboard's power-delivery components.
Calculating the thermal load. The peak heat output of every major component is assessed. Flagship gaming processors such as the AMD Ryzen 9 9950X3D can draw up to 230 W at peak PPT, while the NVIDIA GeForce RTX 5090 can draw up to 575 W. A system with a combined thermal load of around 800 W—and potentially close to 1 kW at maximum peak load—requires a substantial radiator surface area. A typical 360 mm radiator fitted with 120 mm fans can effectively dissipate around 300–350 W of heat. To keep an RTX 5090 and Ryzen 9 within a comfortable temperature range, the loop should therefore include at least two 360 mm radiators, or preferably a suitable combination such as 420 mm and 280 mm units.
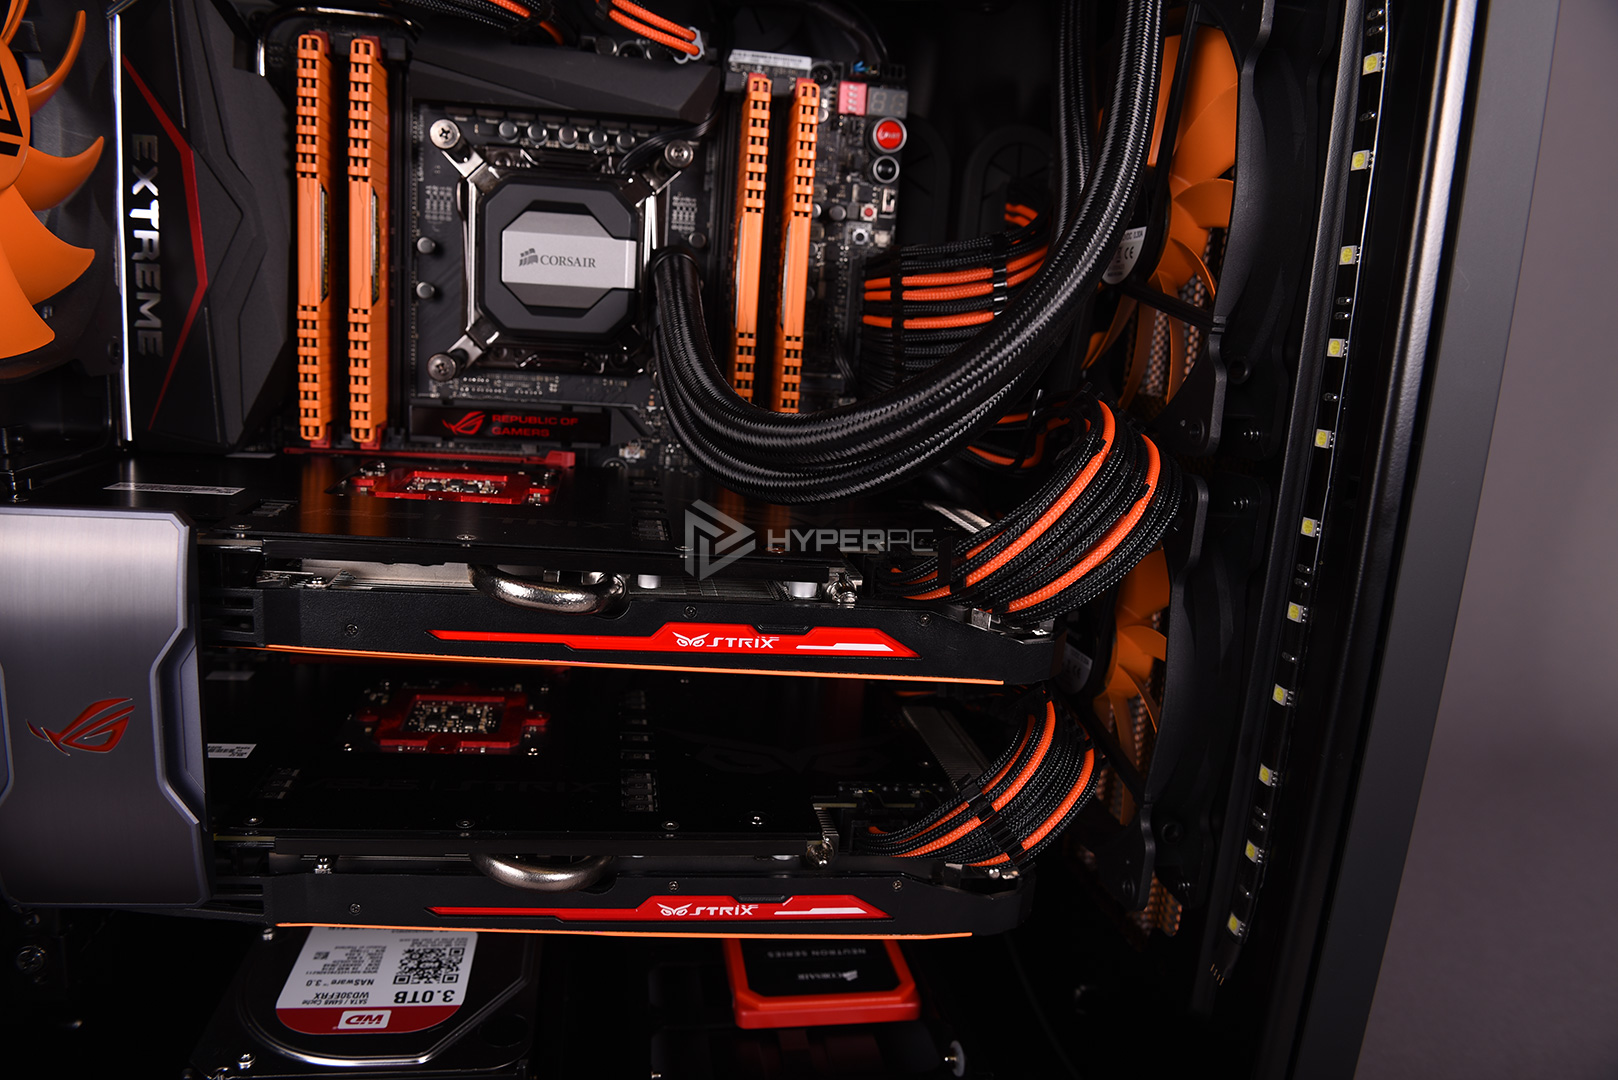
Selecting loop components. The thermal calculations determine the choice of:
- copper radiators of the appropriate thickness;
- water blocks for the relevant CPU socket (AM5 or LGA1851) and the graphics card's exact PCB design (for example, an ASUS ROG Astral RTX 5090 or Palit GameRock);
- a pump, preferably a PWM-controlled D5 that can maintain a high coolant flow rate;
- a reservoir, either cylindrical or integrated into a distribution plate;
- the hardline tubing material, fittings and coolant formulation.
Planning the tubing route. The coolant path is laid out from the reservoir to the pump, through the CPU and GPU water blocks, on to the radiators and back to the reservoir. Bend radii are planned to create a clean, balanced appearance and to make draining the loop easier during maintenance.
Step 2. Selecting Components and Materials
Once the concept has been approved, the individual components and materials are selected.
Hardline or Soft Tubing: The Differences and How to Choose
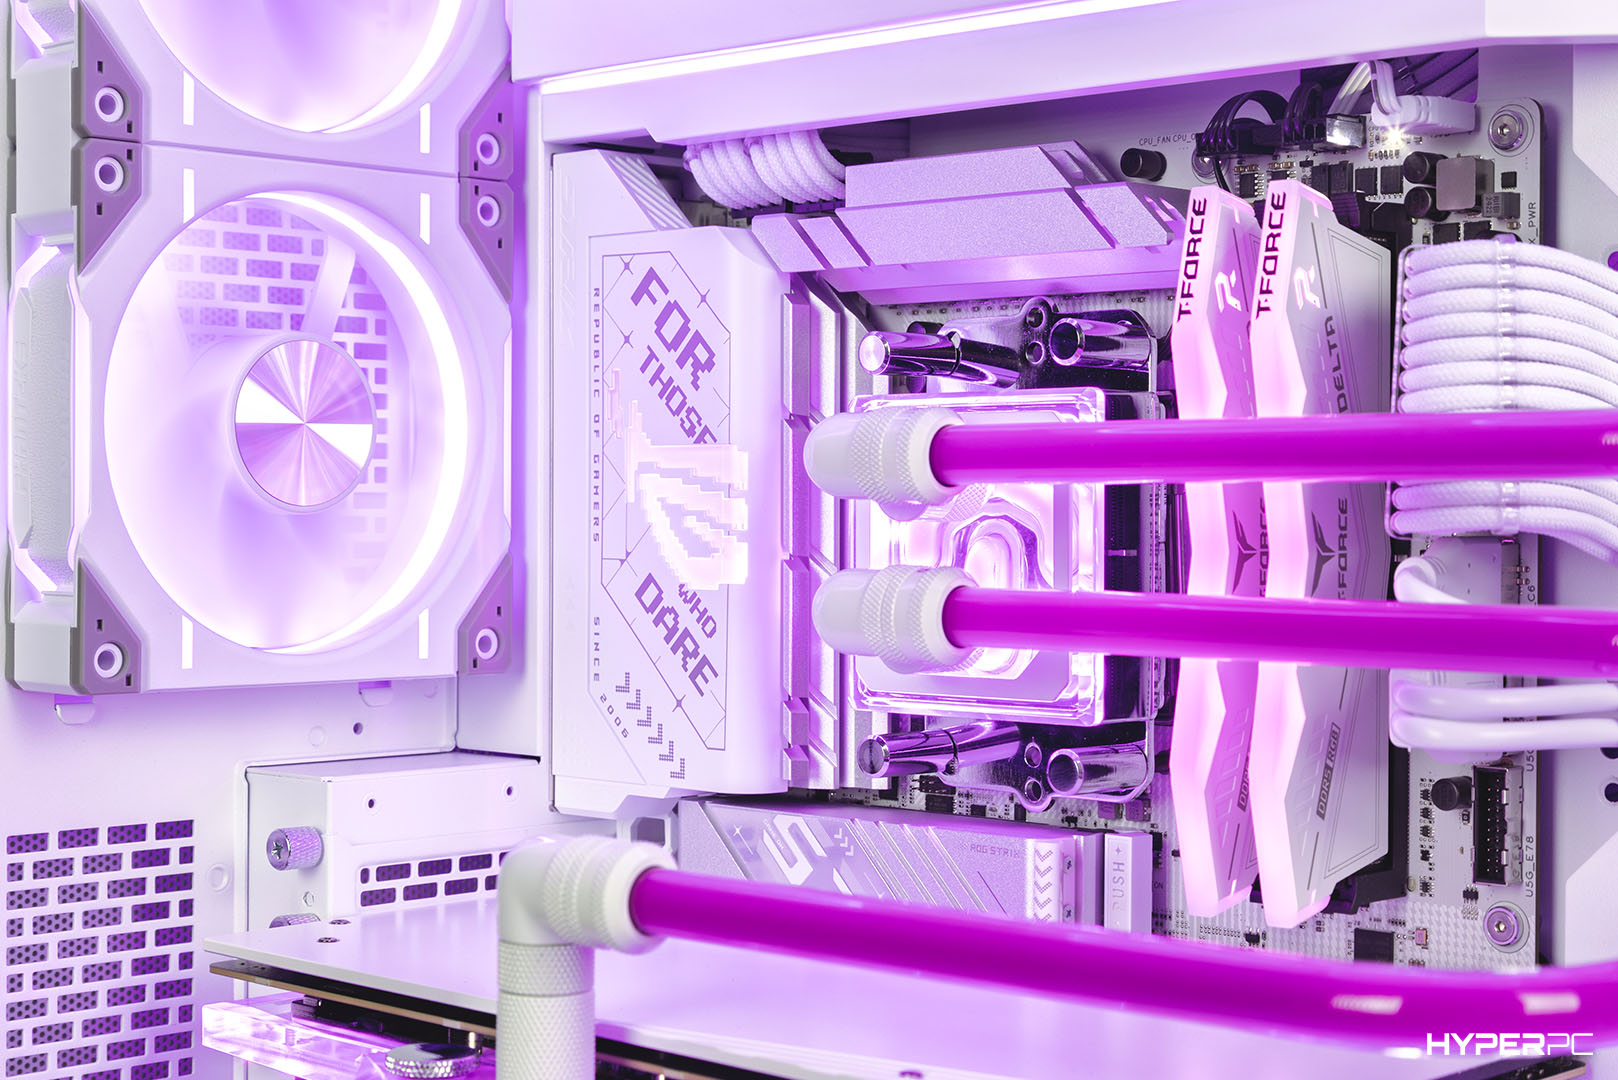
The tubing material is one of the main factors affecting the reliability of the entire system.
Soft tubing consists of flexible silicone or neoprene hoses, sometimes with a fabric or polymer braid. It is easy to install and requires neither heat nor specialist tools. Over time, however, the hoses may sag, become cloudy or fade under UV light, and deposits can build up on their inner walls.
Hardline tubing is made from acrylic (PMMA), PETG or metal such as nickel-plated copper or brass. Acrylic or metal tubing is generally preferable because PETG, although once popular, presents a potential thermal risk.
PETG begins to soften at only around 60–62°C. In an extremely powerful gaming PC with a combined thermal load of around 800 W, coolant temperature can reach 50–55°C during sustained use if the fans are tuned for quiet operation. At these temperatures, PETG can soften and deform where it is held by compression fittings. Over time, the pressure within the loop may then compromise the seal and cause a leak.
Acrylic (PMMA) softens above 80°C and retains its rigidity at normal coolant temperatures, helping to keep the connections secure. Copper or brass tubing provides the greatest mechanical strength, but it is much harder to work with and requires specialist cutting and bending tools.
Choosing Fittings, Coolant and Lighting to Suit the Design
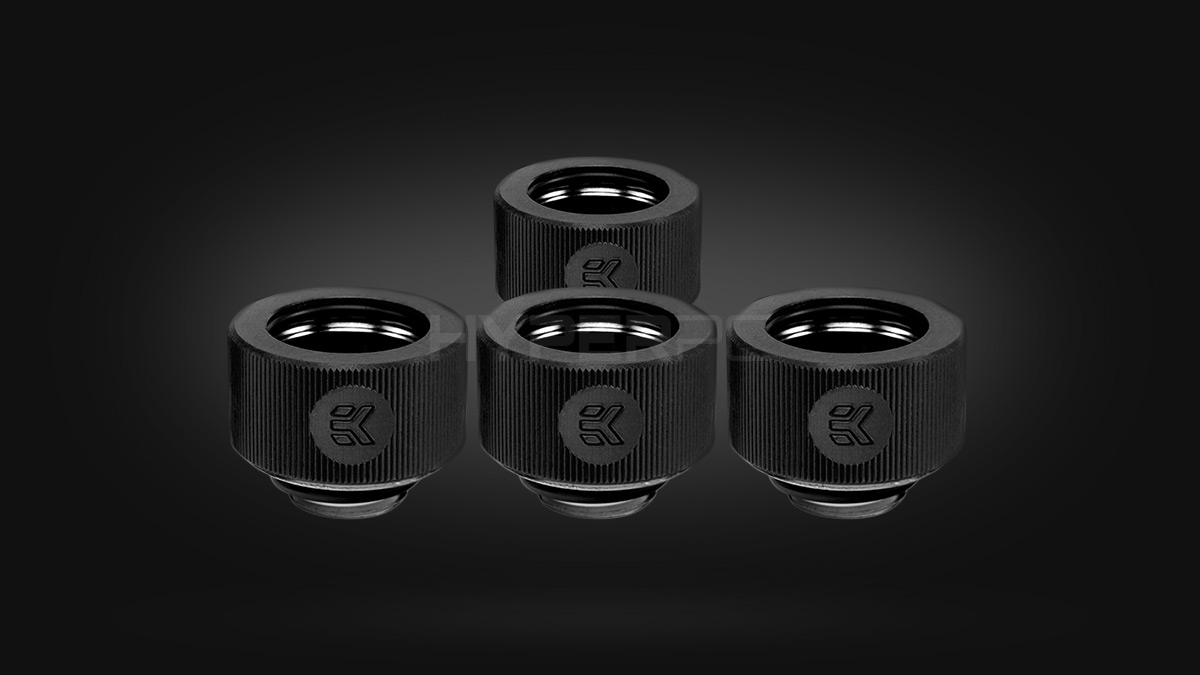
Fittings use the standard G1/4 thread and form a watertight connection between the tubing and the other loop components. Depending on the route, the build may use straight, 45-degree, 90-degree or rotary fittings, with finishes chosen to complement the overall design.
Liquid-cooling coolant is a specially formulated heat-transfer fluid. Plain distilled or deionised water should not be used by itself in a custom loop. Without the correct additives, microbial growth can cause slime and deposits in the water blocks' microchannels, while metal parts may suffer nickel-plating damage and copper corrosion. Purpose-made coolants such as EK-CryoFuel contain corrosion inhibitors and biocides that control biological growth. The coolant may be completely clear or coloured to match the chosen design.
RGB or ARGB lighting can be integrated into the reservoir, pump, water blocks and fans, then controlled centrally through the motherboard to keep the entire system in sync.
Step 3. Assembly and Tube Routing
Assembling a custom loop is the most labour-intensive and critical stage of the project, and it demands a high level of technical skill.
Preparing the case and components. Anything that obstructs access is removed from the case. The radiators are secured to the panels, and the fans are oriented to create the correct airflow through the chassis. A CPU water block and a full-cover GPU water block are then installed. In addition to the GPU itself, the latter cools the GDDR7 memory chips and the graphics card's hot power-delivery components (VRM). High-performance thermal pads of precisely specified thickness transfer heat from these components to the block.
Routing and bending. The distance between each fitting's inlet and outlet is measured precisely. Acrylic tubing is cut to length, and each end is deburred and chamfered with a reamer to prevent damage to the rubber O-rings inside the fittings. A silicone insert is placed inside the tube to stop it collapsing, after which the tube is heated with a heat gun set to around 250–300°C and bent smoothly over a suitable former. Every bend must be accurate so that the tube seats in the fittings without any mechanical strain. It is then secured with compression nuts. The pump and reservoir are installed in their planned location, usually on the front or bottom panel of the case.
Step 4. Leak Testing, Filling and Performance Testing
Before coolant is added, the assembled loop must be thoroughly checked for leaks. Filling an untested loop is a serious risk: an incorrectly seated O-ring could allow coolant to escape onto an expensive motherboard or graphics card as soon as the pump starts.
Air-pressure testing. A hand pump is used to pressurise the fully assembled, dry loop, while a gauge is monitored for any pressure loss. If the reading remains stable for 15–30 minutes, the loop is considered airtight. This is an essential part of the testing process.
Filling the loop. Coolant is added through the reservoir. Power is supplied only to the cooling pump, while the motherboard and graphics card remain completely disconnected. The pump circulates the coolant and gradually purges air from the loop. Once the air has been removed and the system is fully assembled, it undergoes a 12-hour stress test using AIDA64, Cinebench and 3DMark to check CPU and GPU temperatures. Under maximum load, a custom loop should run substantially cooler than a standard air-cooled system: approximately 65–75°C for the processor and 55–65°C for the graphics card.
Maintaining a Custom Liquid-Cooling Loop
A custom loop needs regular, professional maintenance to preserve its original performance.
How often to replace the coolant. The recommended maintenance interval is once every 12 months. The old coolant is drained completely, the loop is flushed with distilled water, and fresh coolant containing the necessary protective additives is added.
What to monitor. Check the coolant level in the reservoir regularly. Even in a sealed system, a tiny amount of liquid will gradually permeate through hoses and seals. A 5–10°C rise in component temperatures may indicate deposits in the water blocks' microchannels or deterioration of the coolant additives. Copper or brass parts must never be mixed with aluminium in the same loop. The difference in their electrochemical potential causes rapid galvanic corrosion: aluminium components deteriorate, and insoluble deposits can block the microchannels in copper water blocks.
Conclusion
A bespoke liquid-cooling loop is more than an effective cooling solution: it represents the highest level of custom PC engineering. It combines maximum component performance, near-silent operation and an exclusive design in a single system. Every loop is tailored to a particular build, including its case, components, thermal output and colour scheme. Compared with a factory-sealed AIO, a custom loop offers greater flexibility, a longer service life and an appearance that mass-produced solutions cannot match.
Creating a custom loop involves design, component selection, tube routing, leak testing and performance testing. Every stage requires specialist skill and experience. Entrusting the work to professionals gives you a reliable, visually striking system built to last for years.
HYPERPC CONCEPT creates bespoke PCs with unique liquid-cooling loops. If you want a custom-cooled PC built to order—from its distinctive design to every technical detail—contact the HYPERPC CONCEPT studio.

 Arabic
  English